Creating Invoices & Taxes
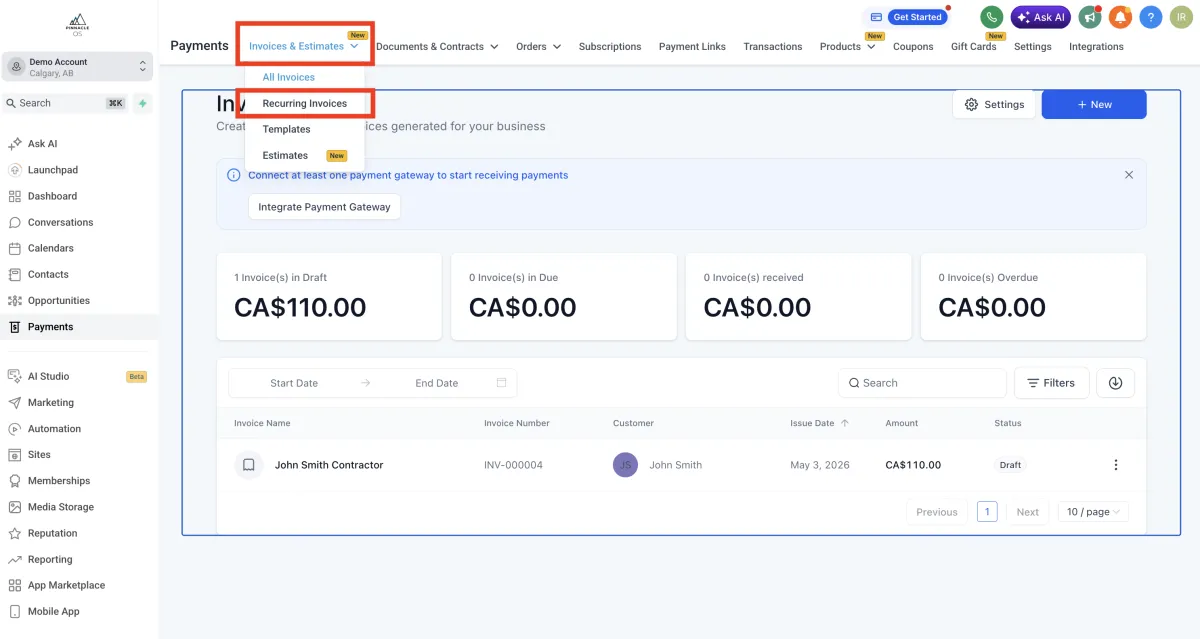
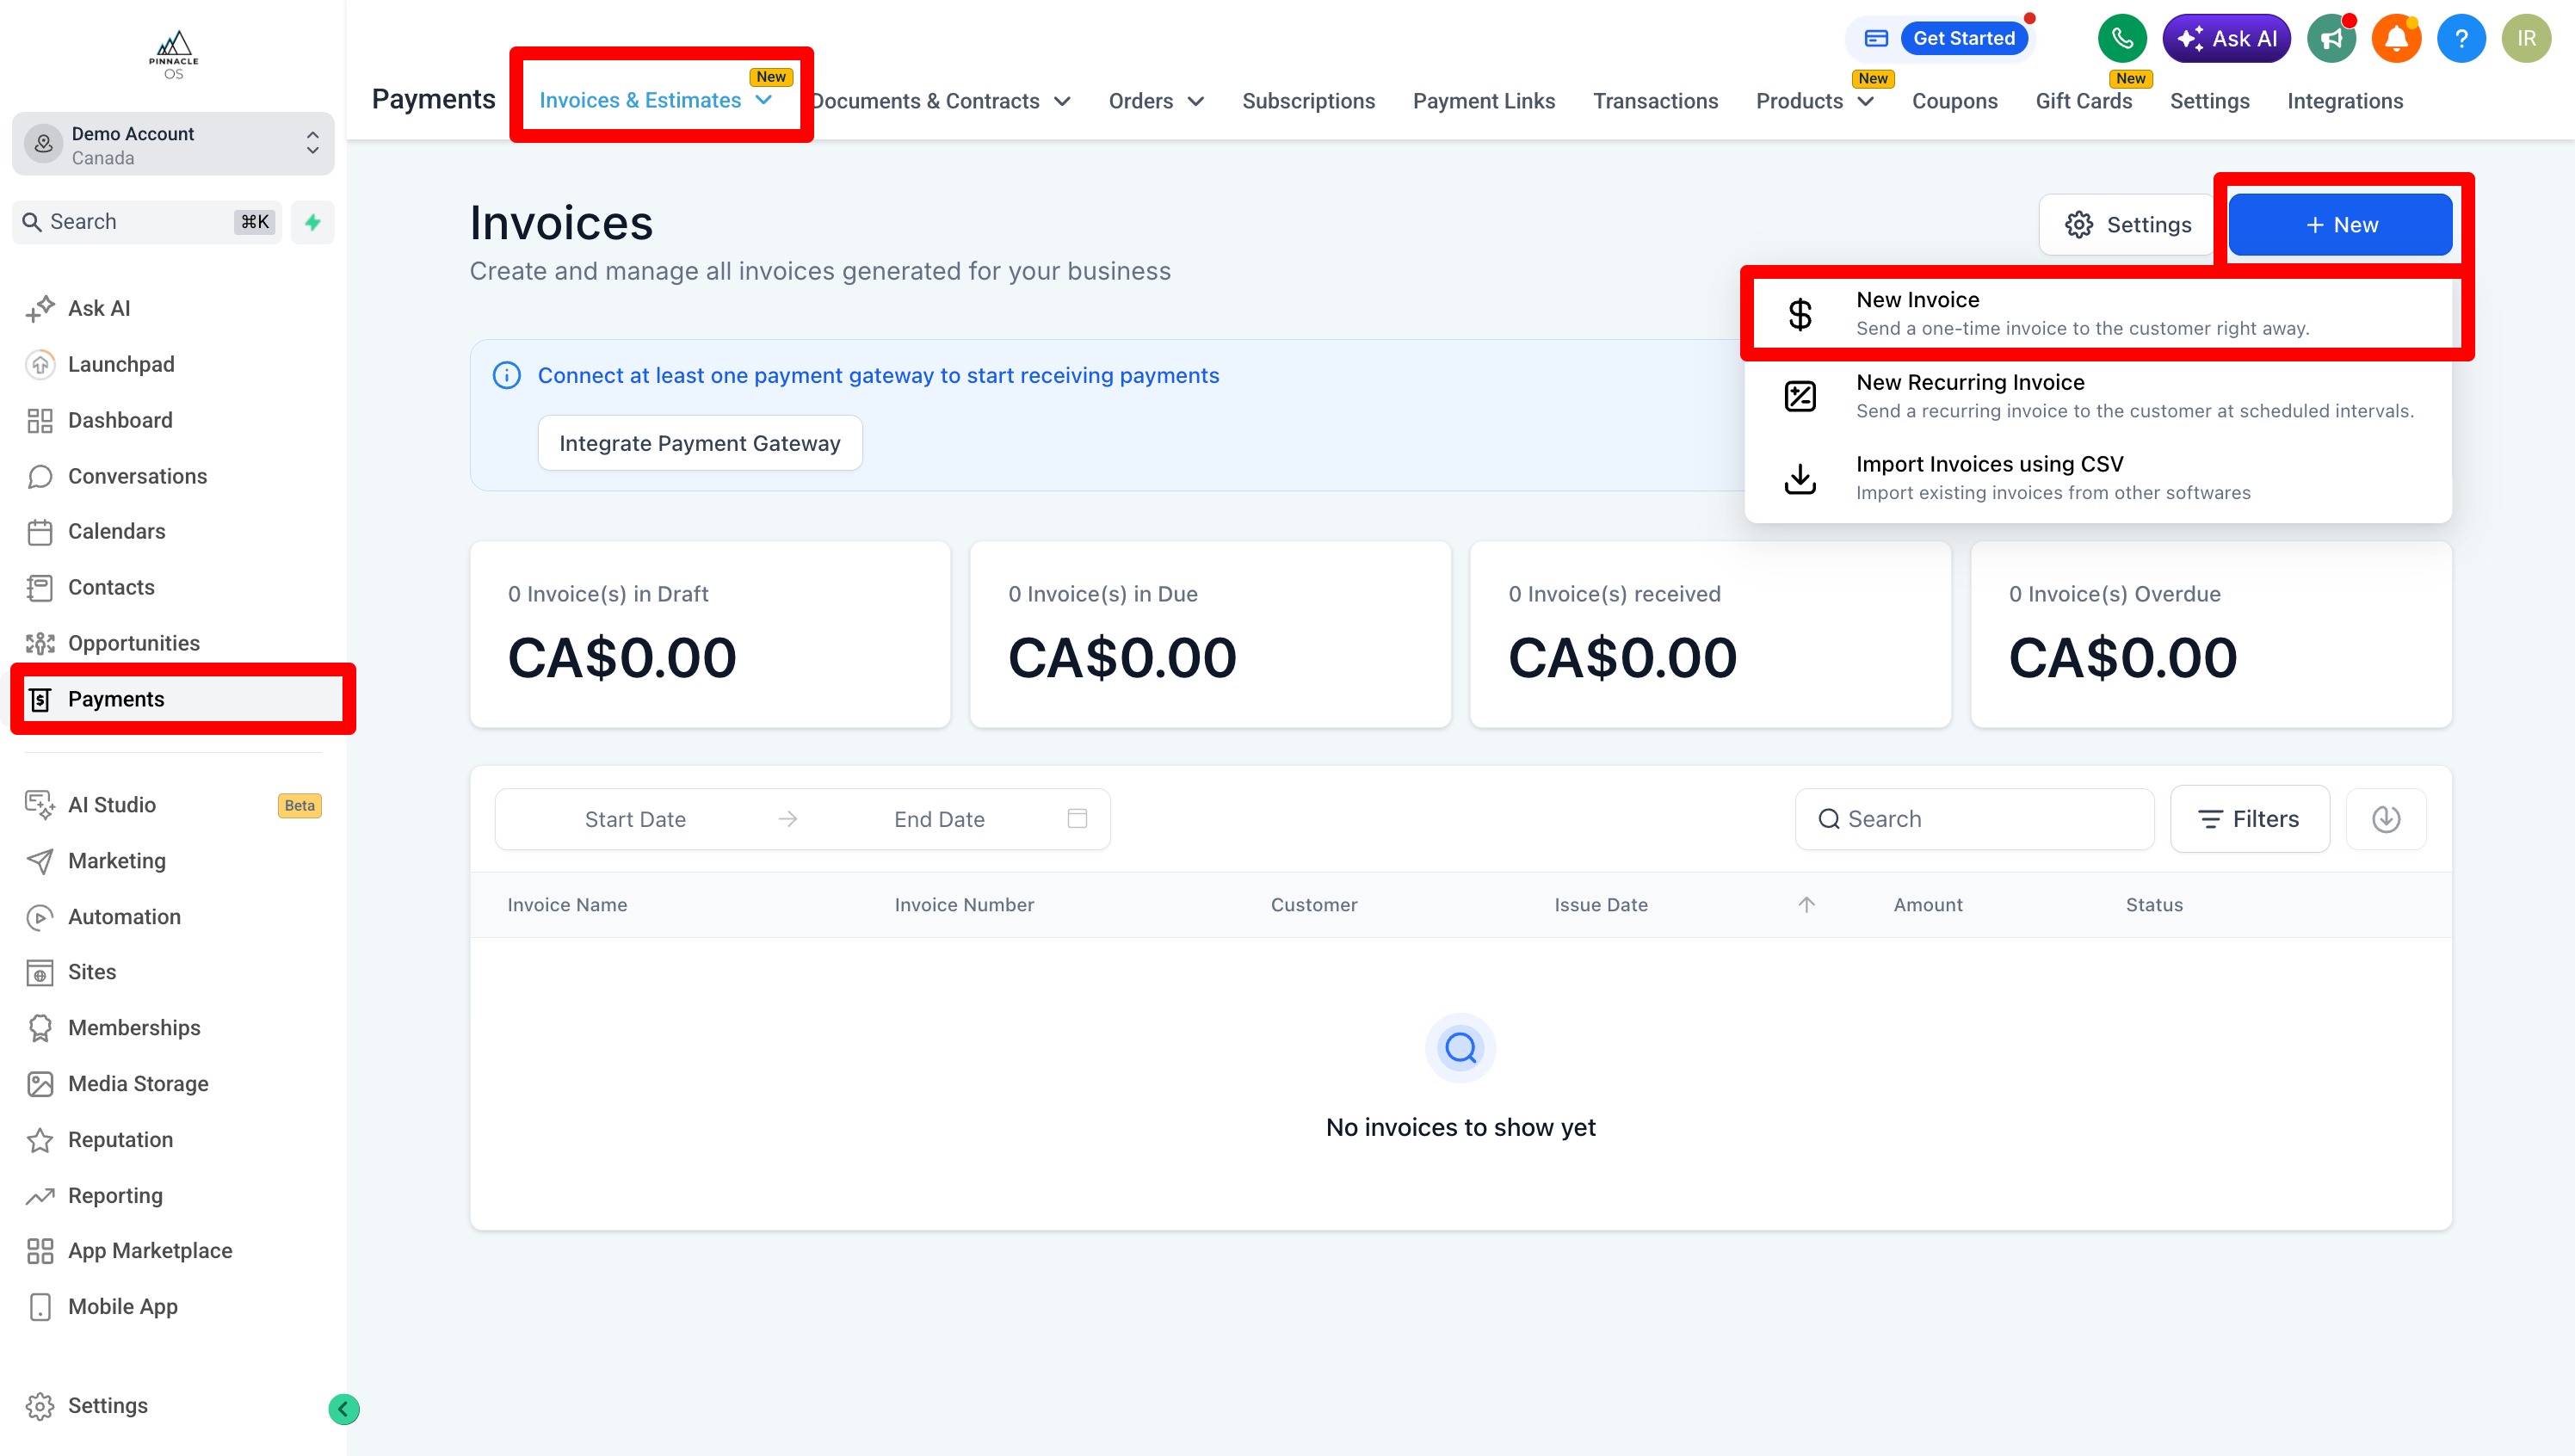
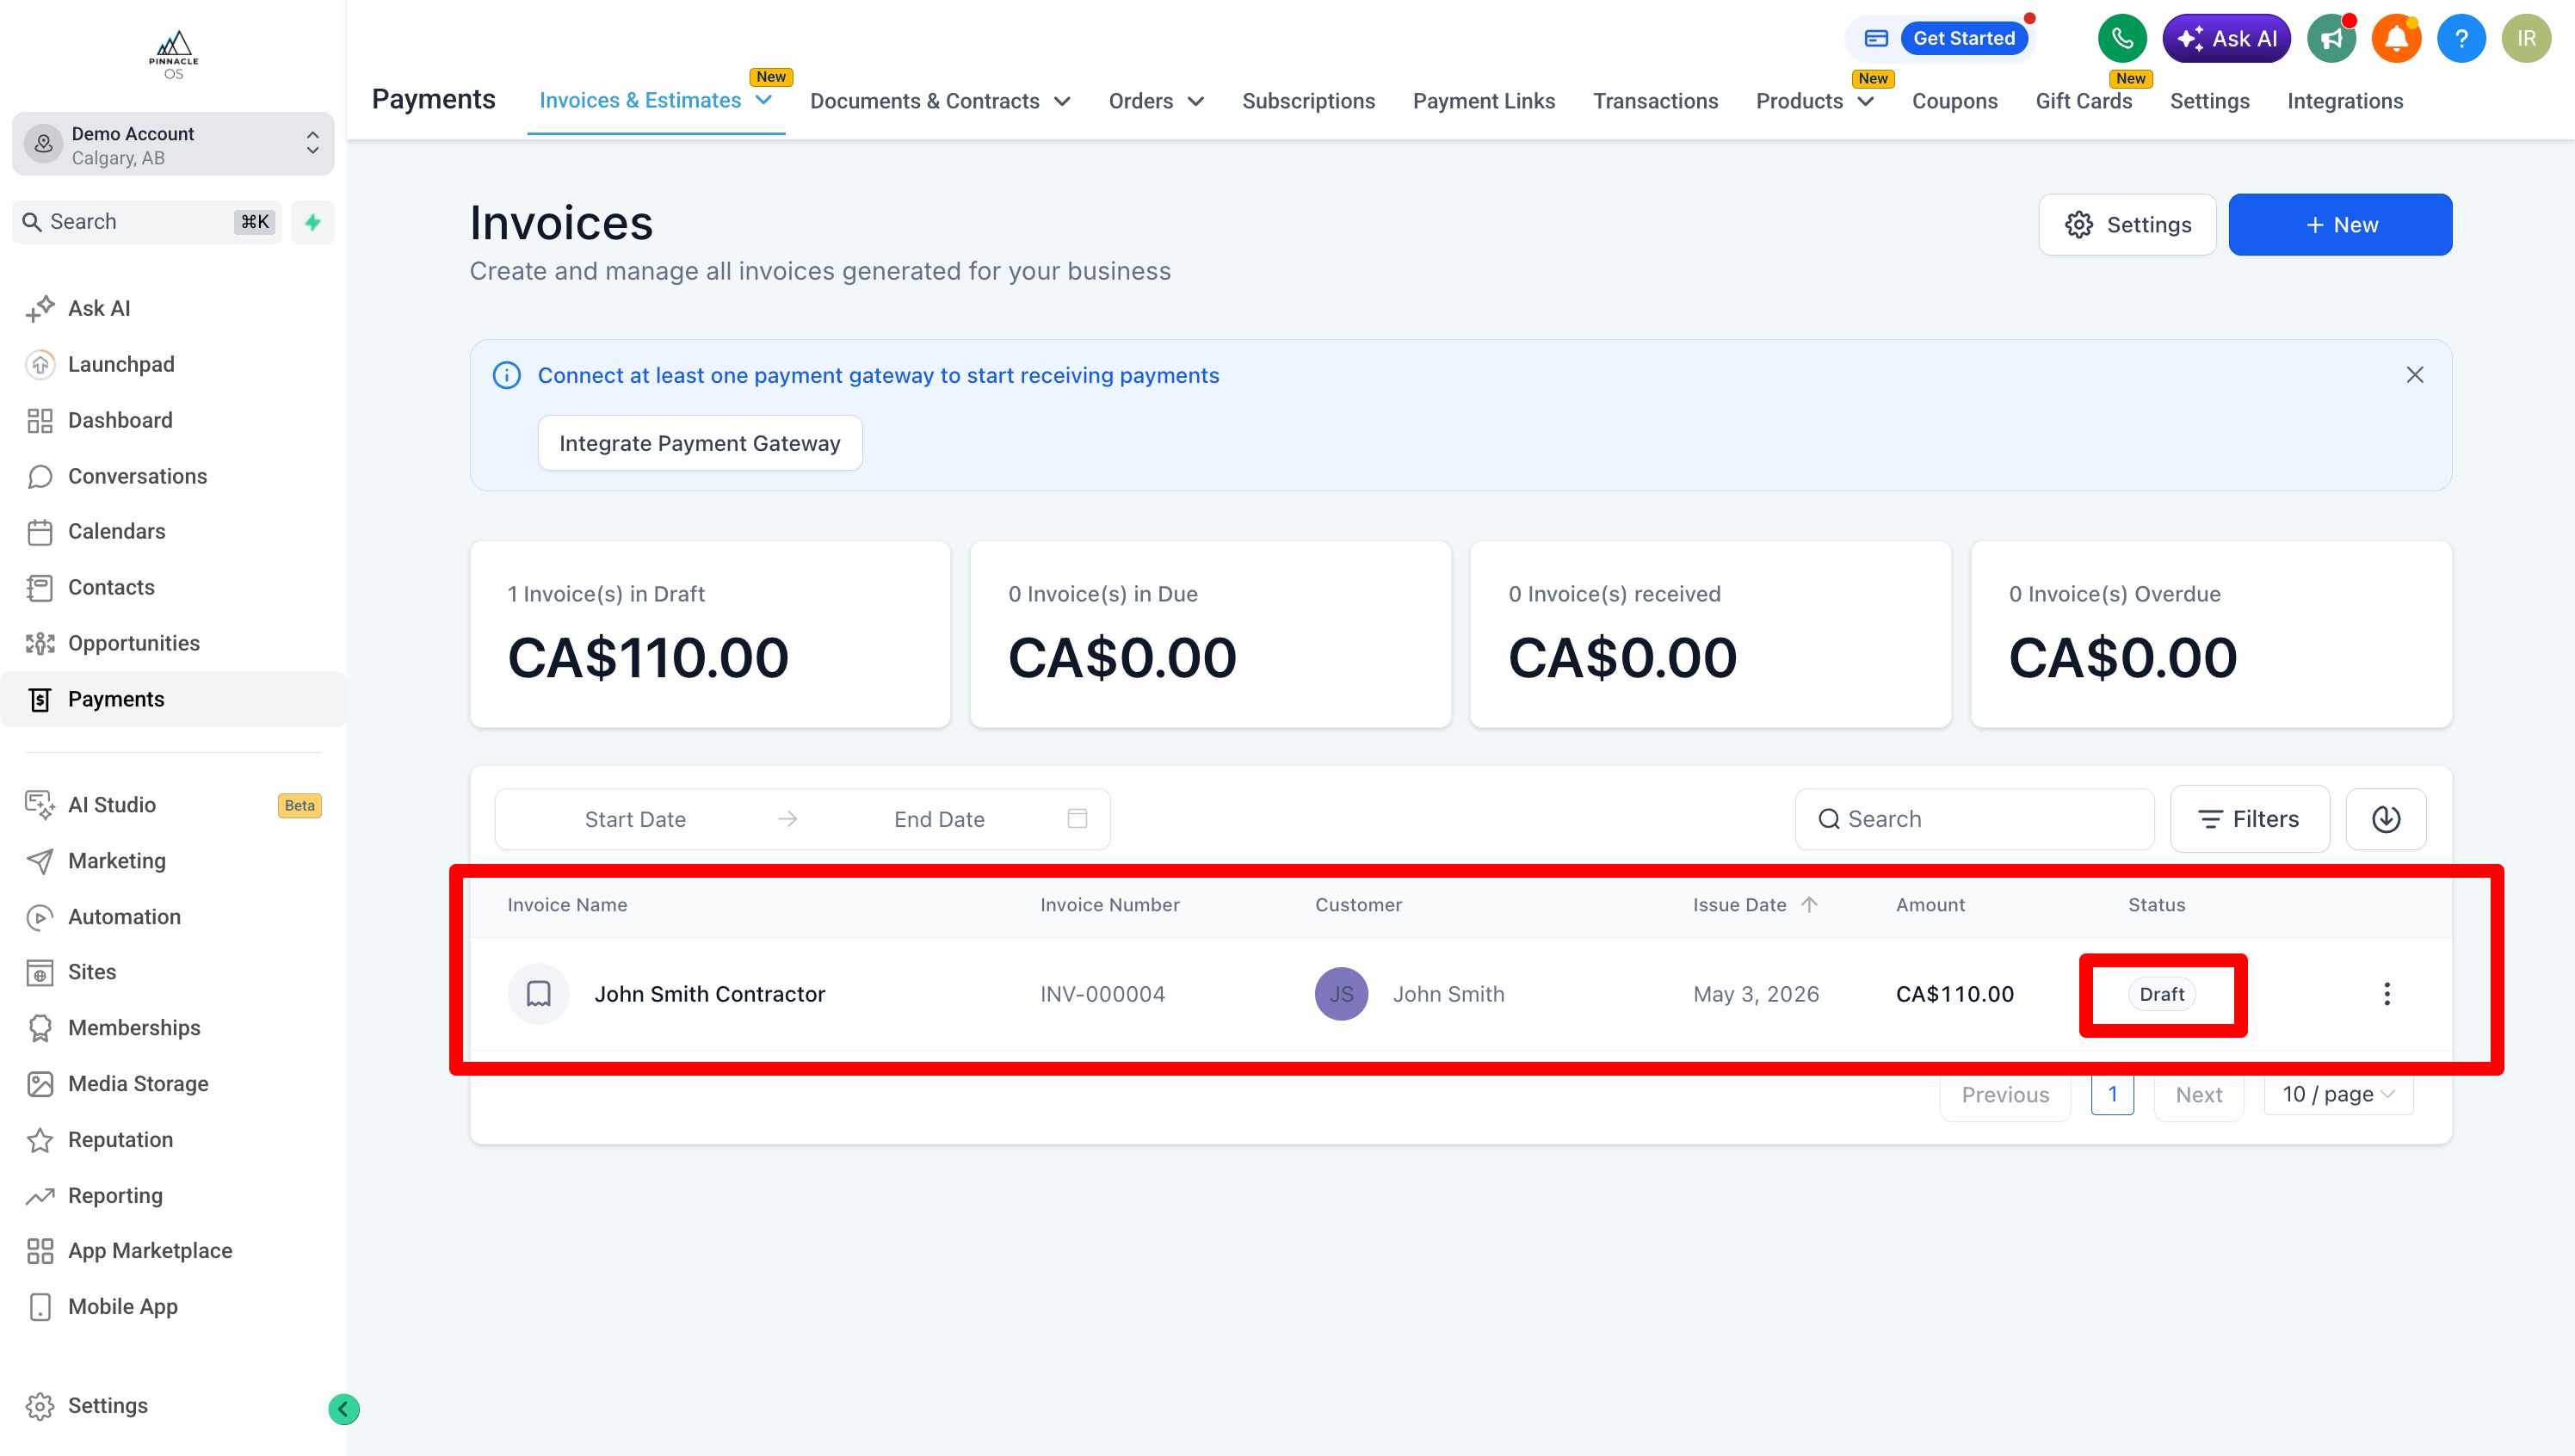
Navigate to Payments > Invoices & Estimates.
Click New > New Invoice
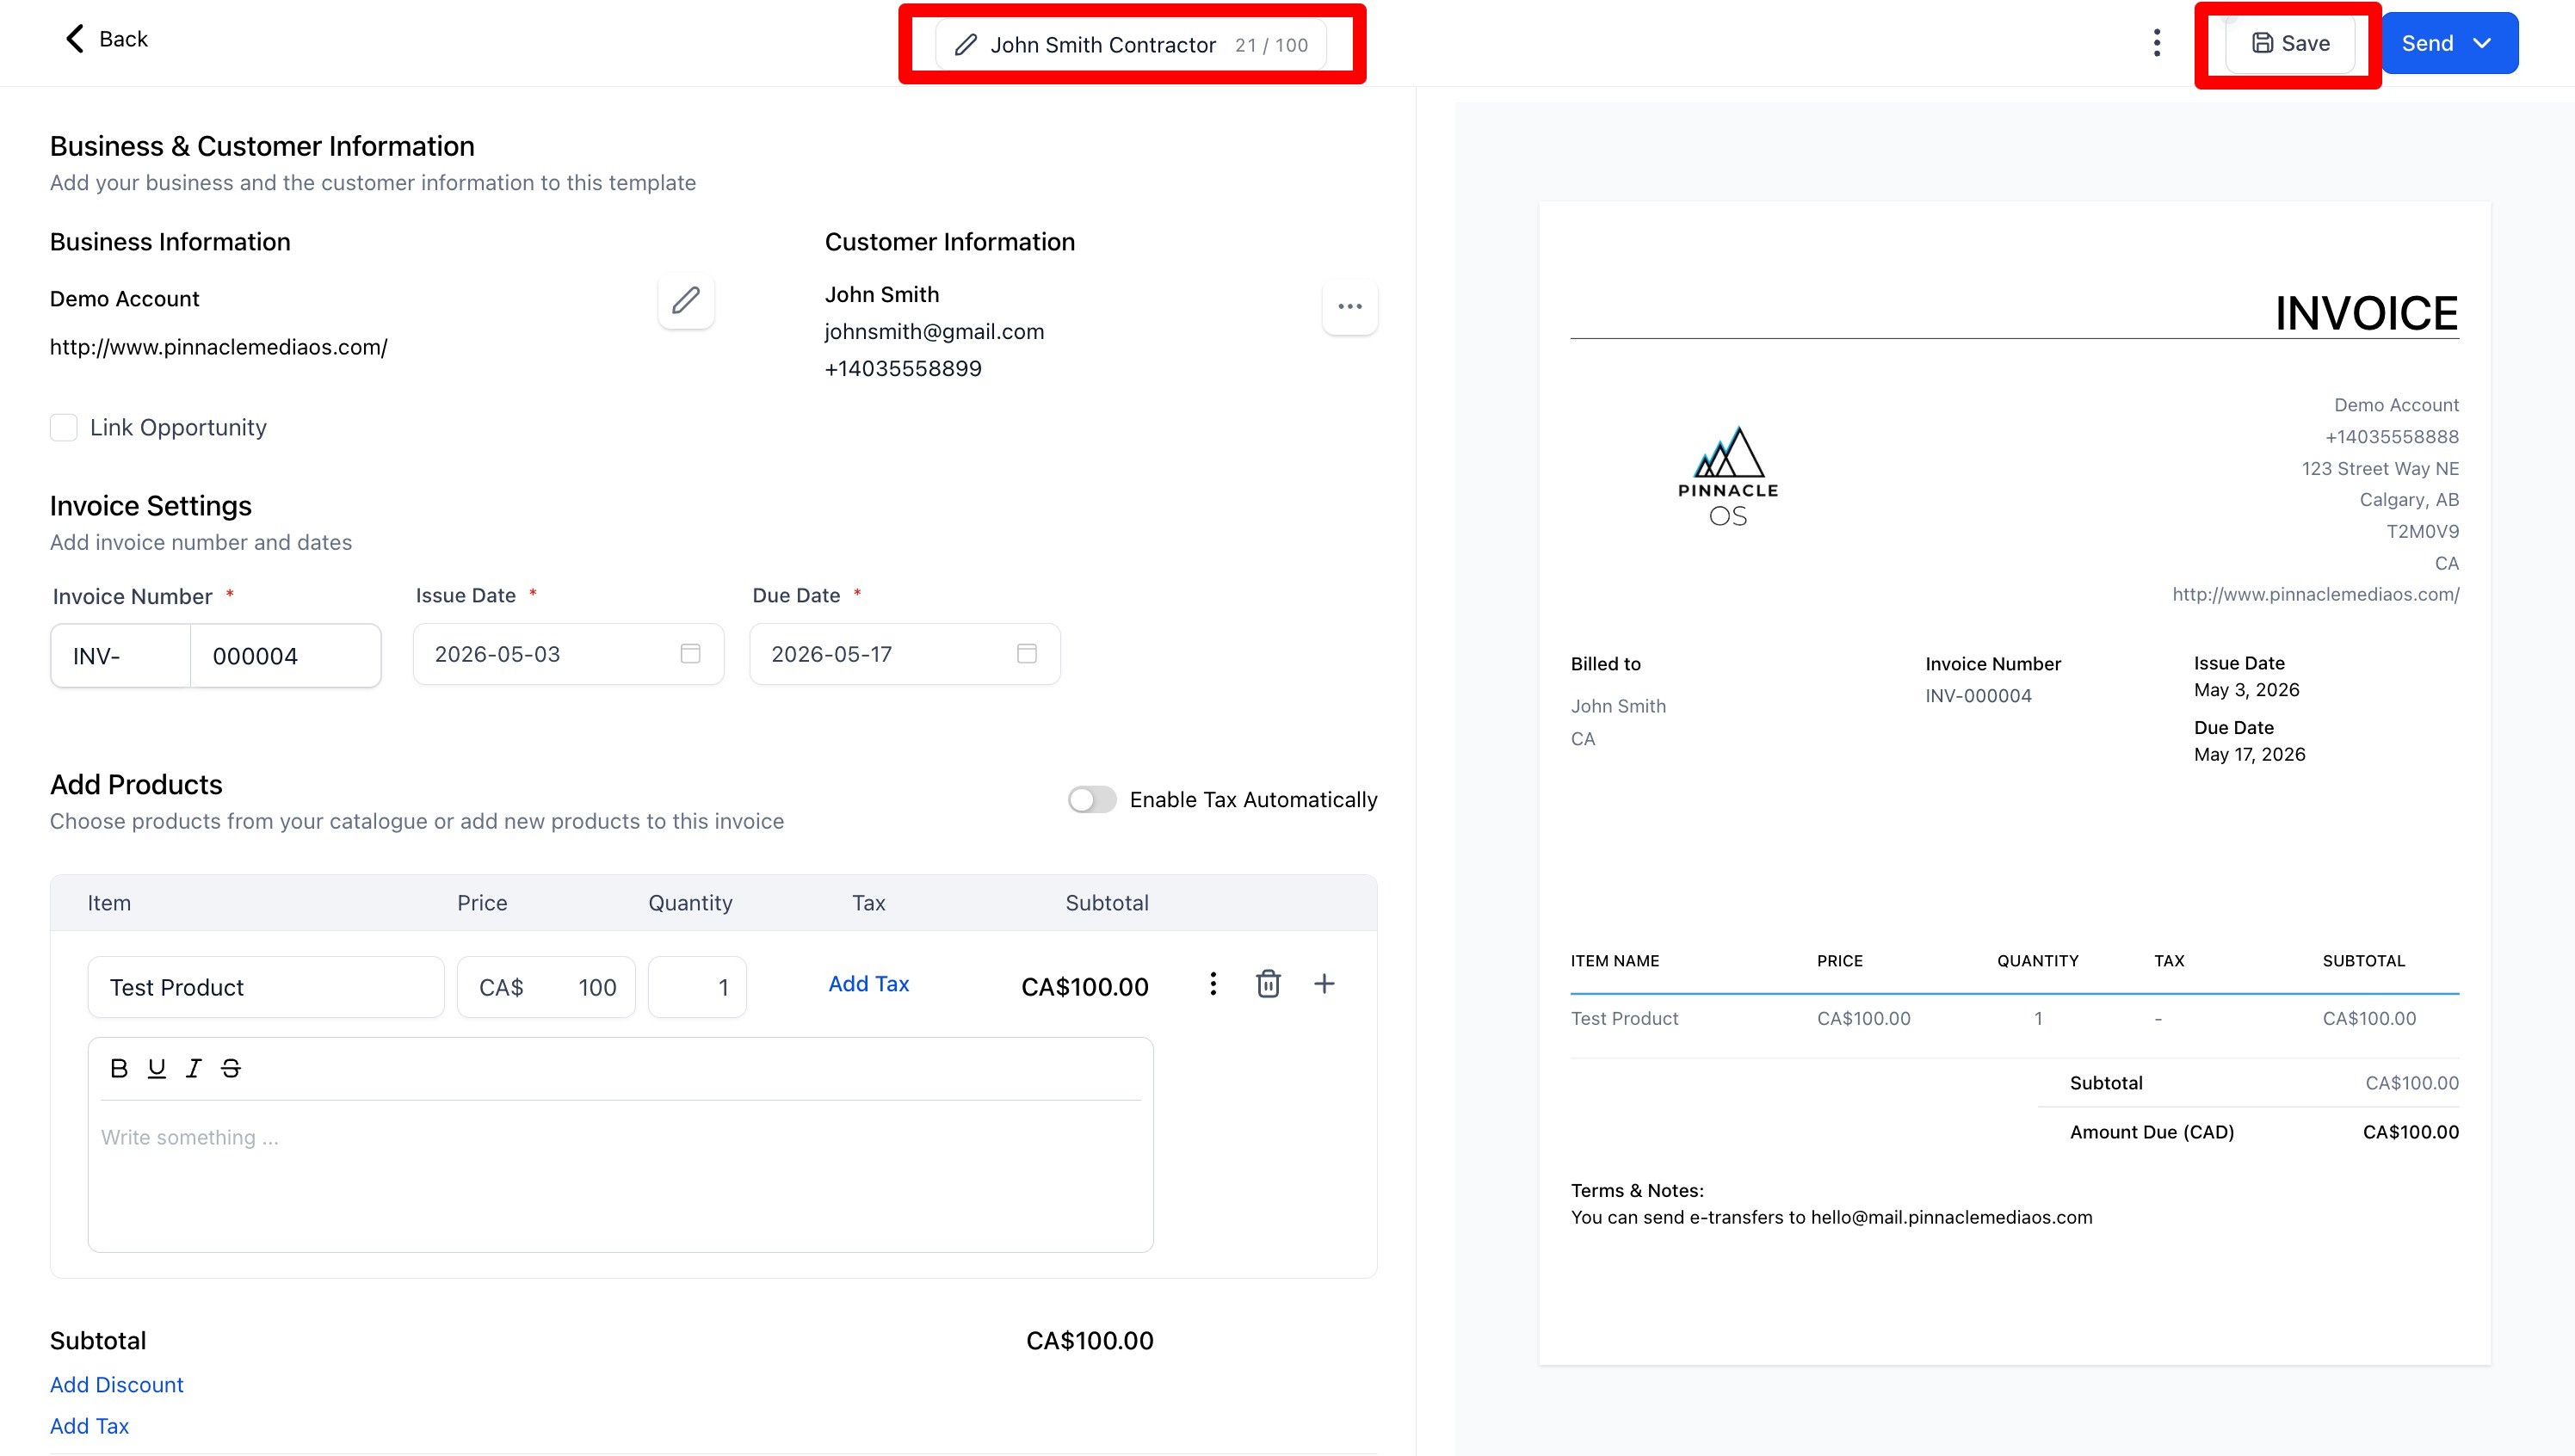
Name your Invoice
Then add your Customer
TIP: (You must create the Contact First before adding them as a customer in the Contacts Tab)
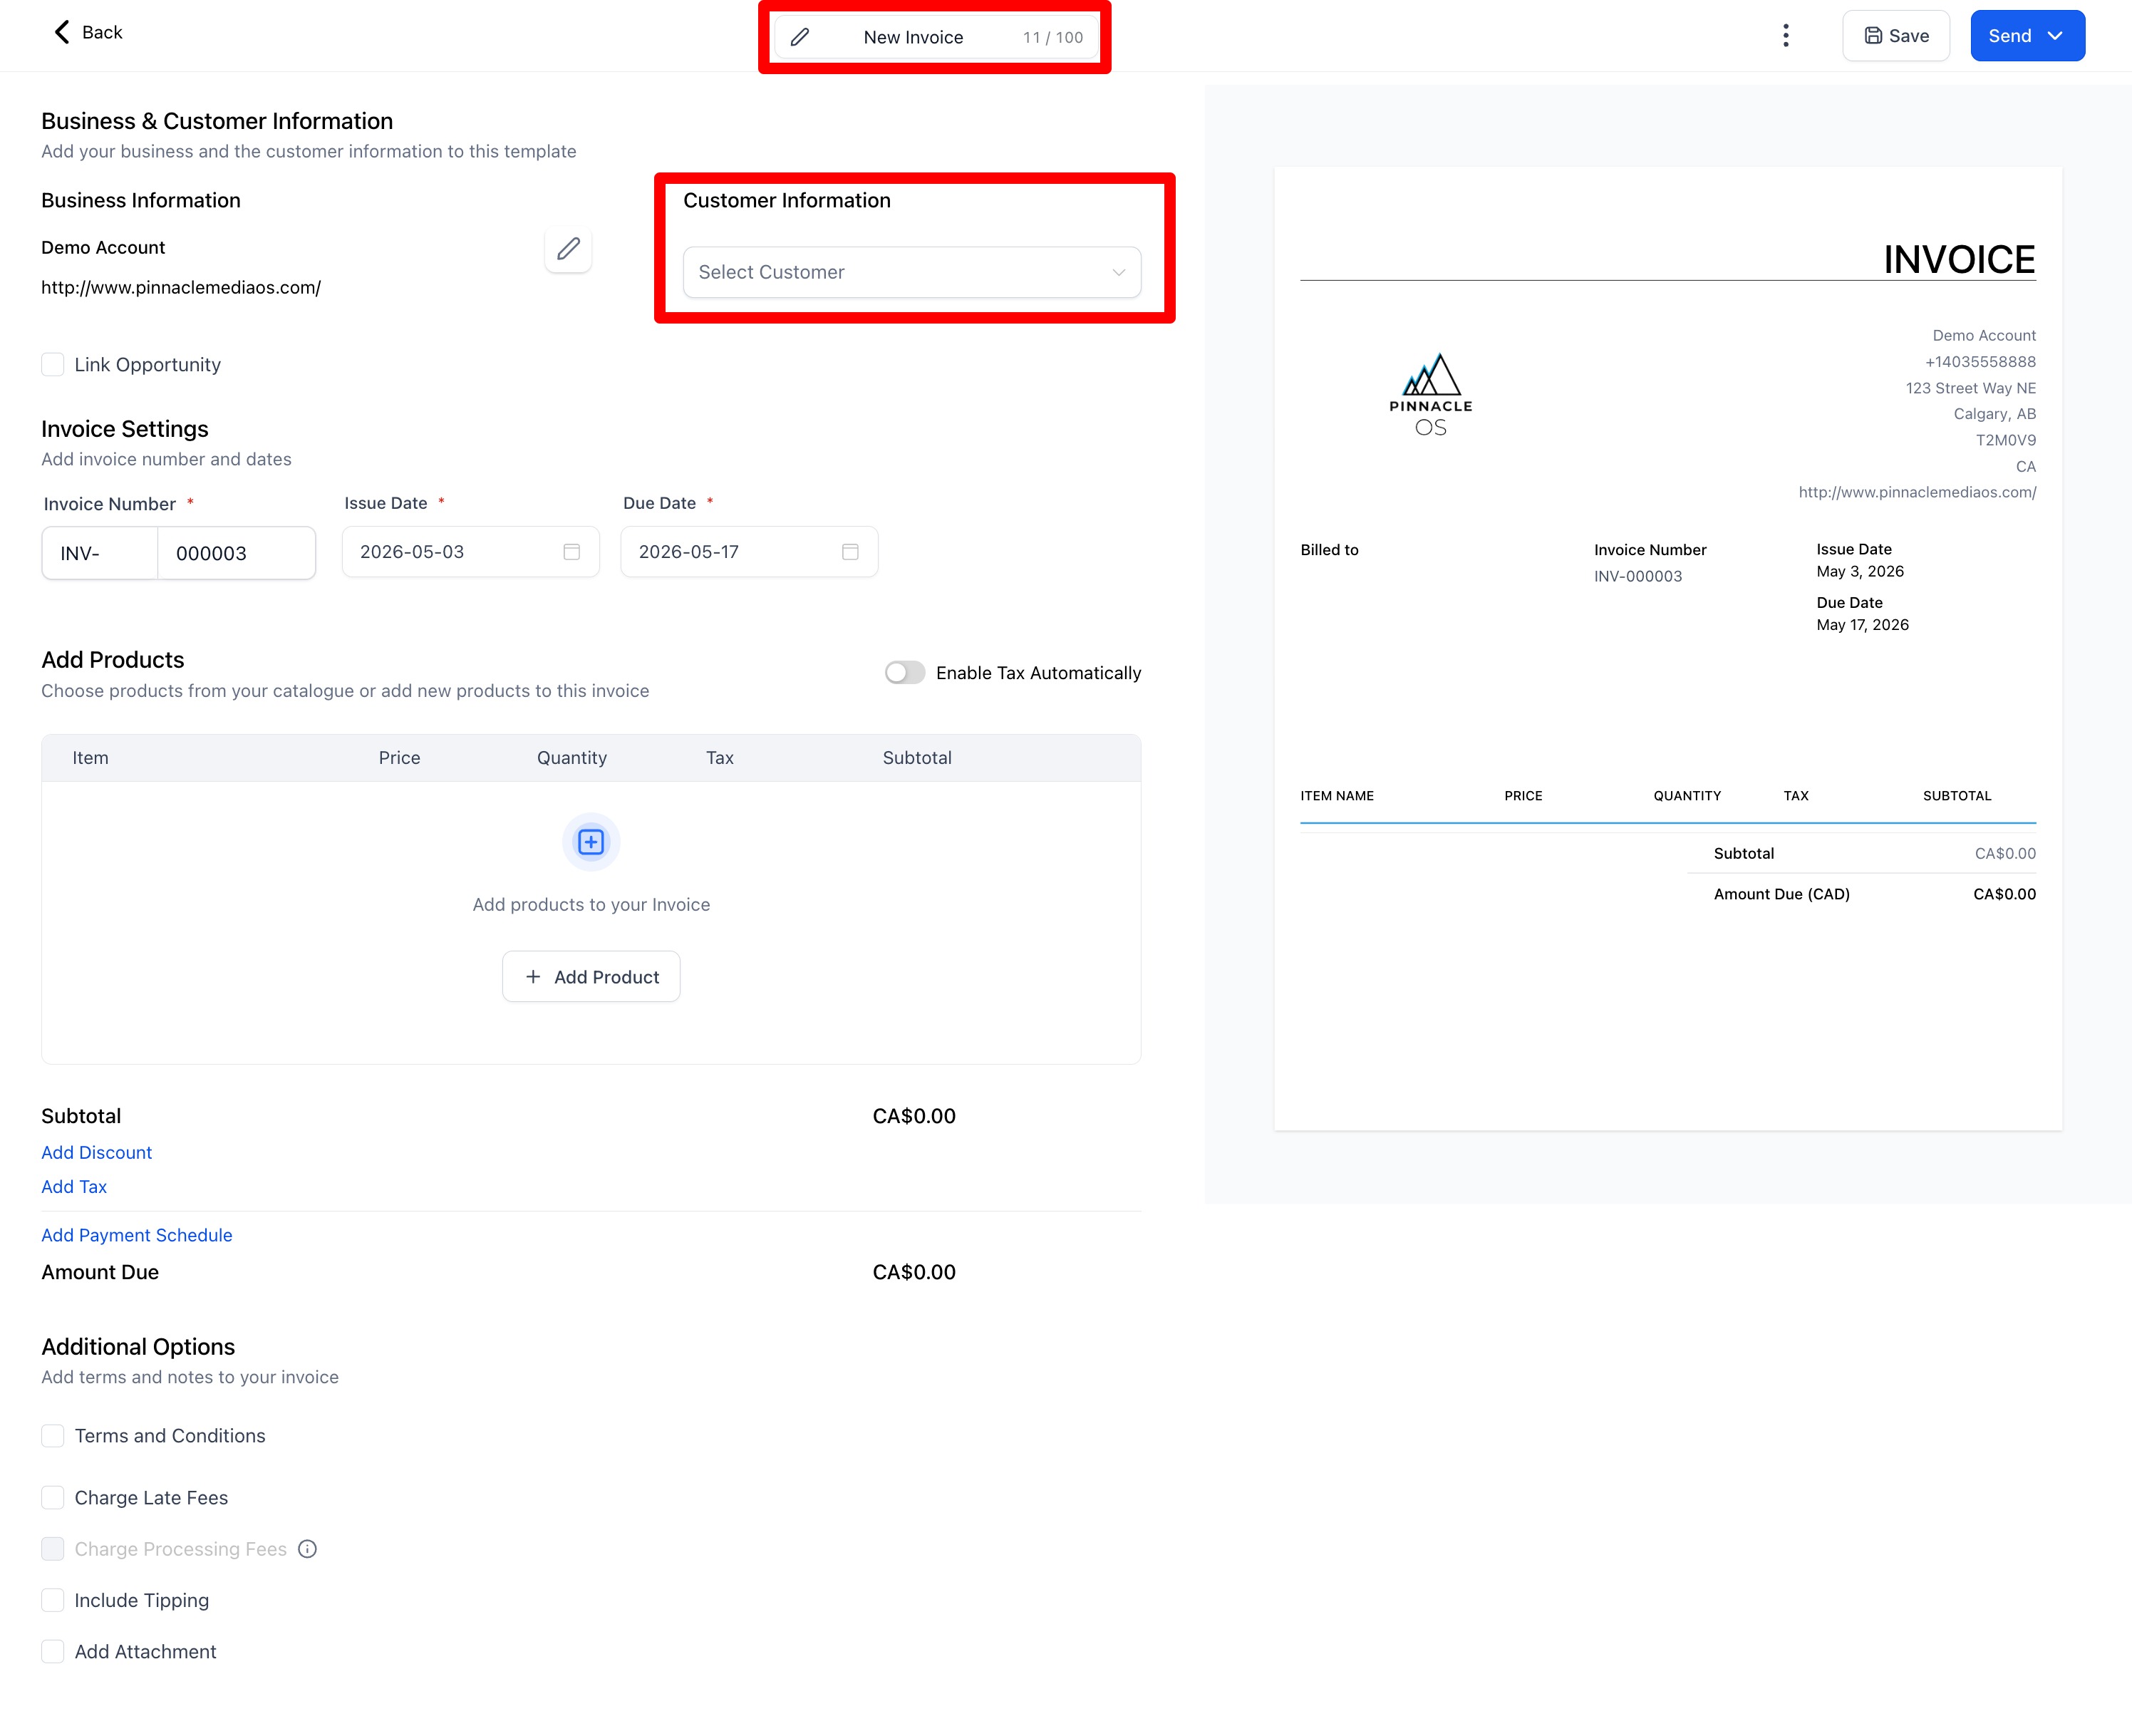
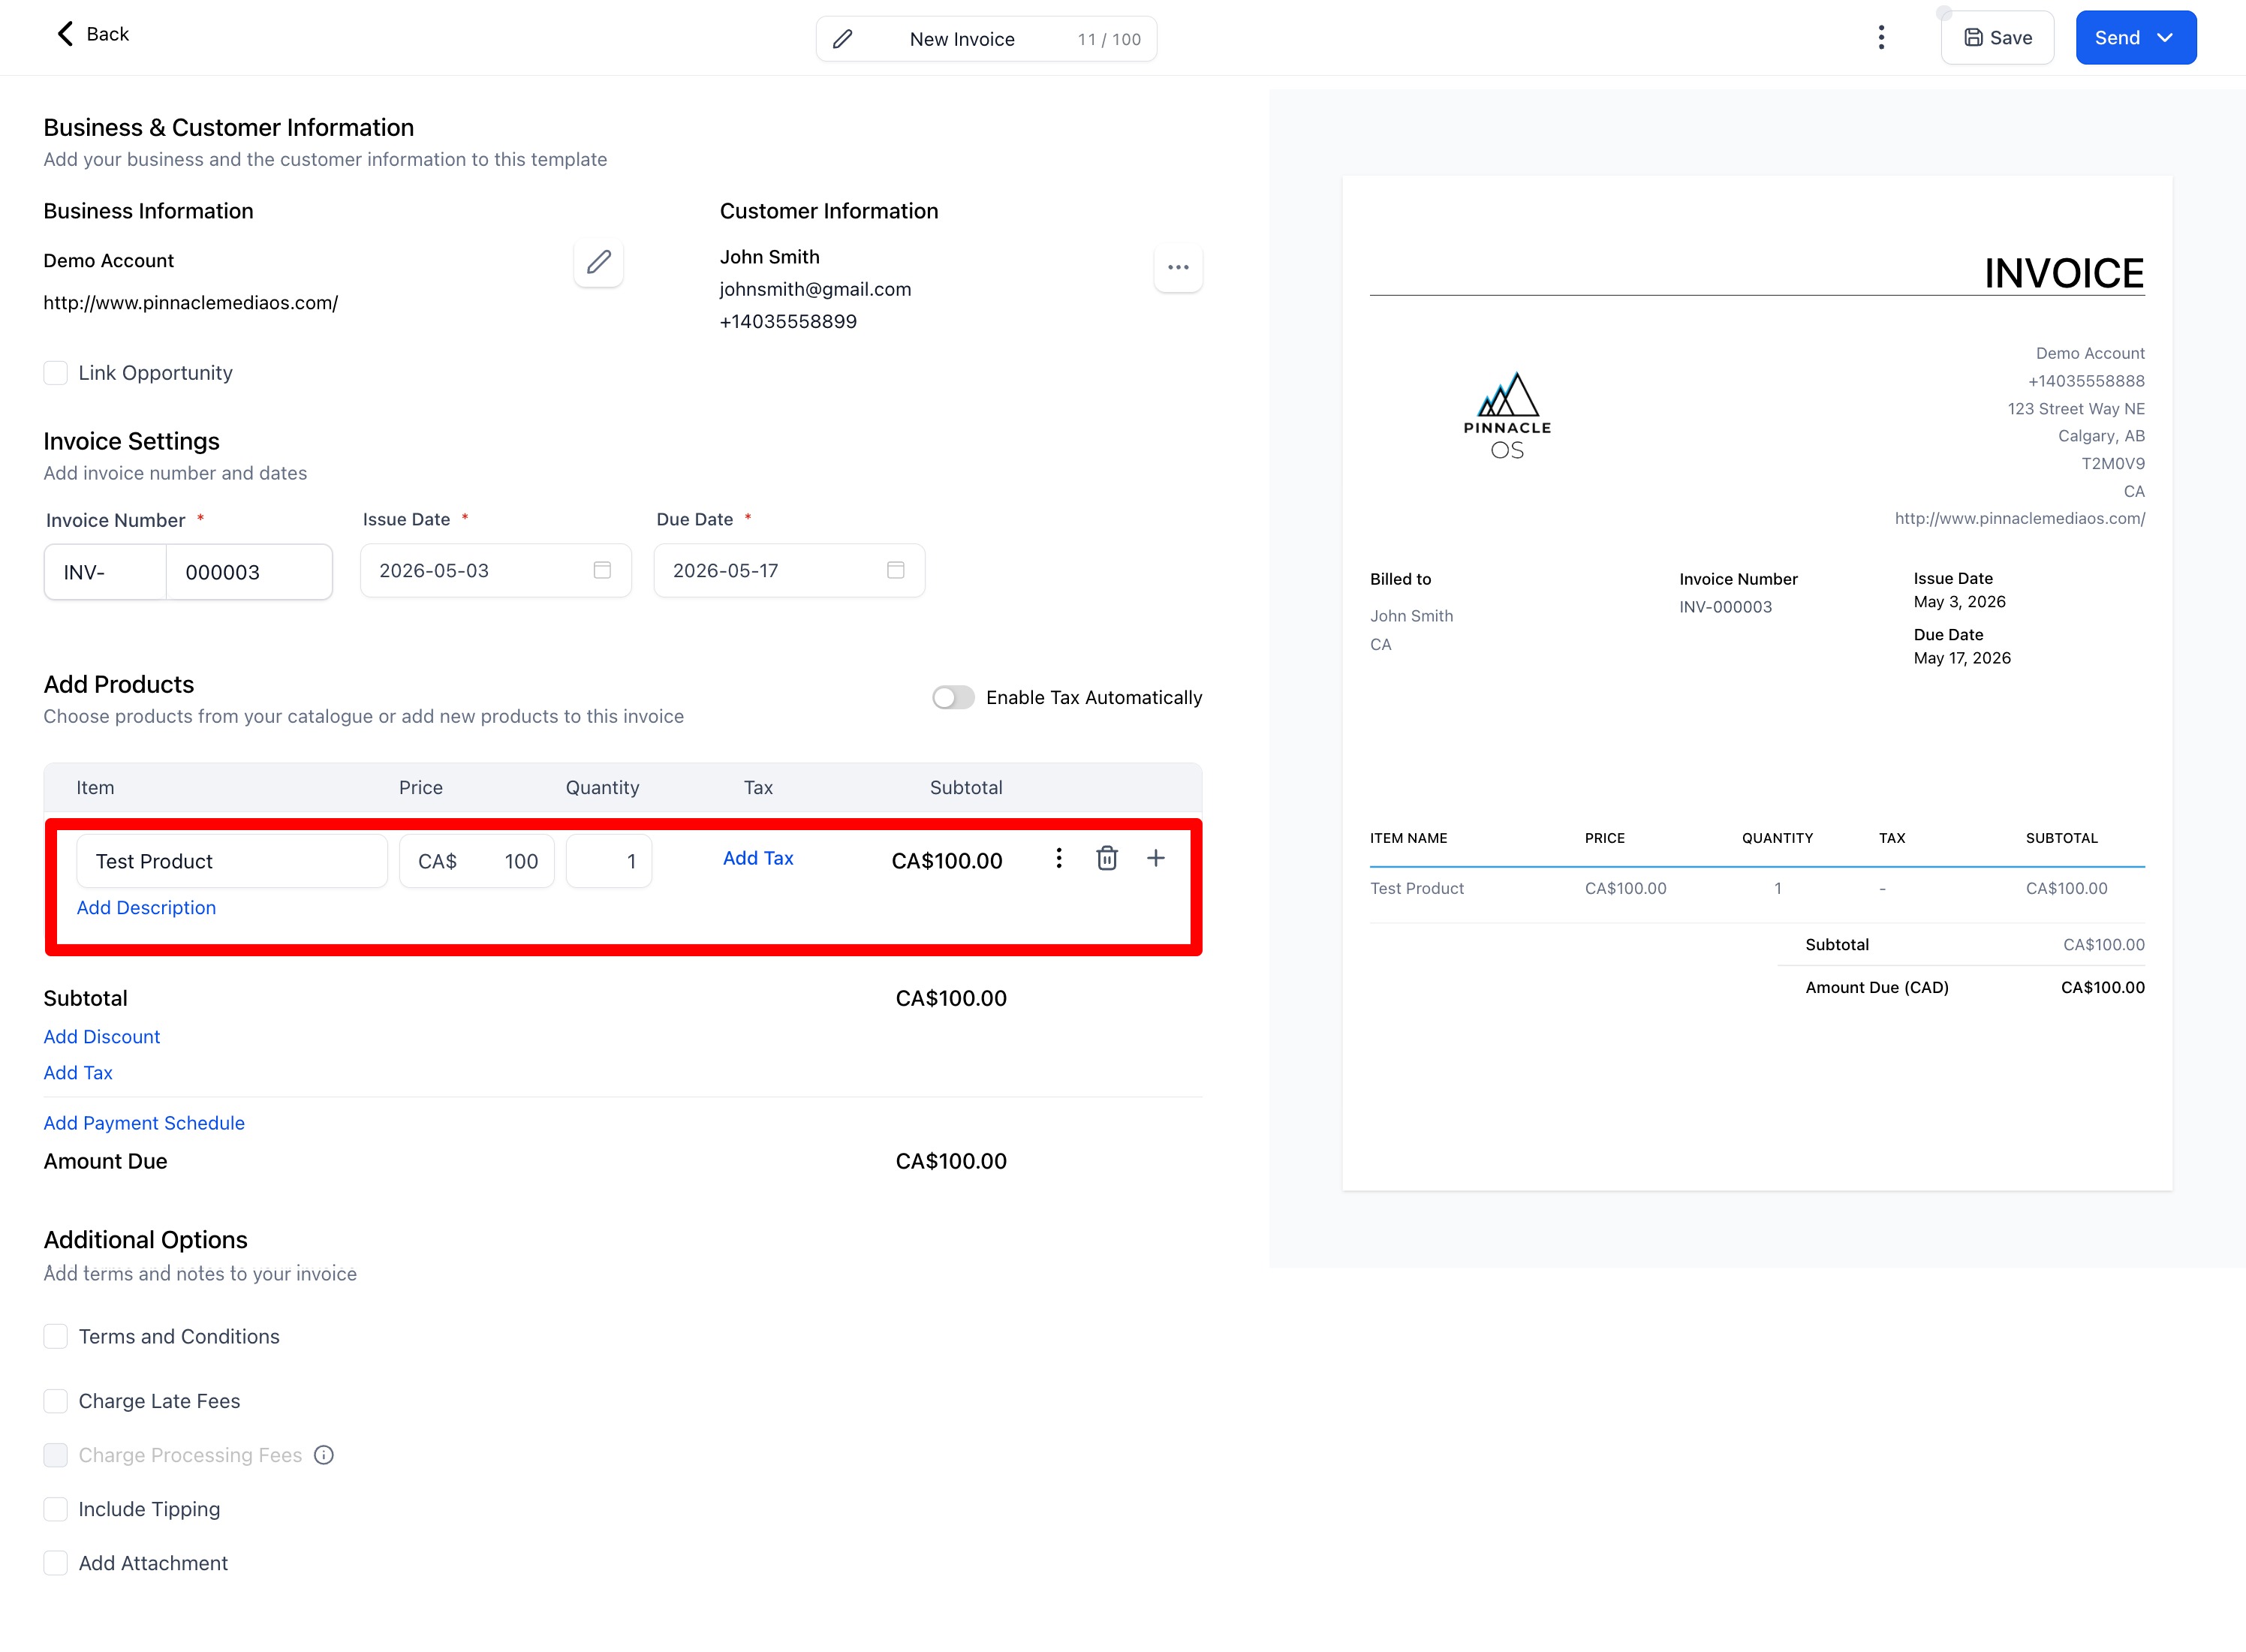
Press "Add Product" and you will have the option to Create or Create your own Product
TIP: If you have products, you can create them beforehand. View our Products Tutorial
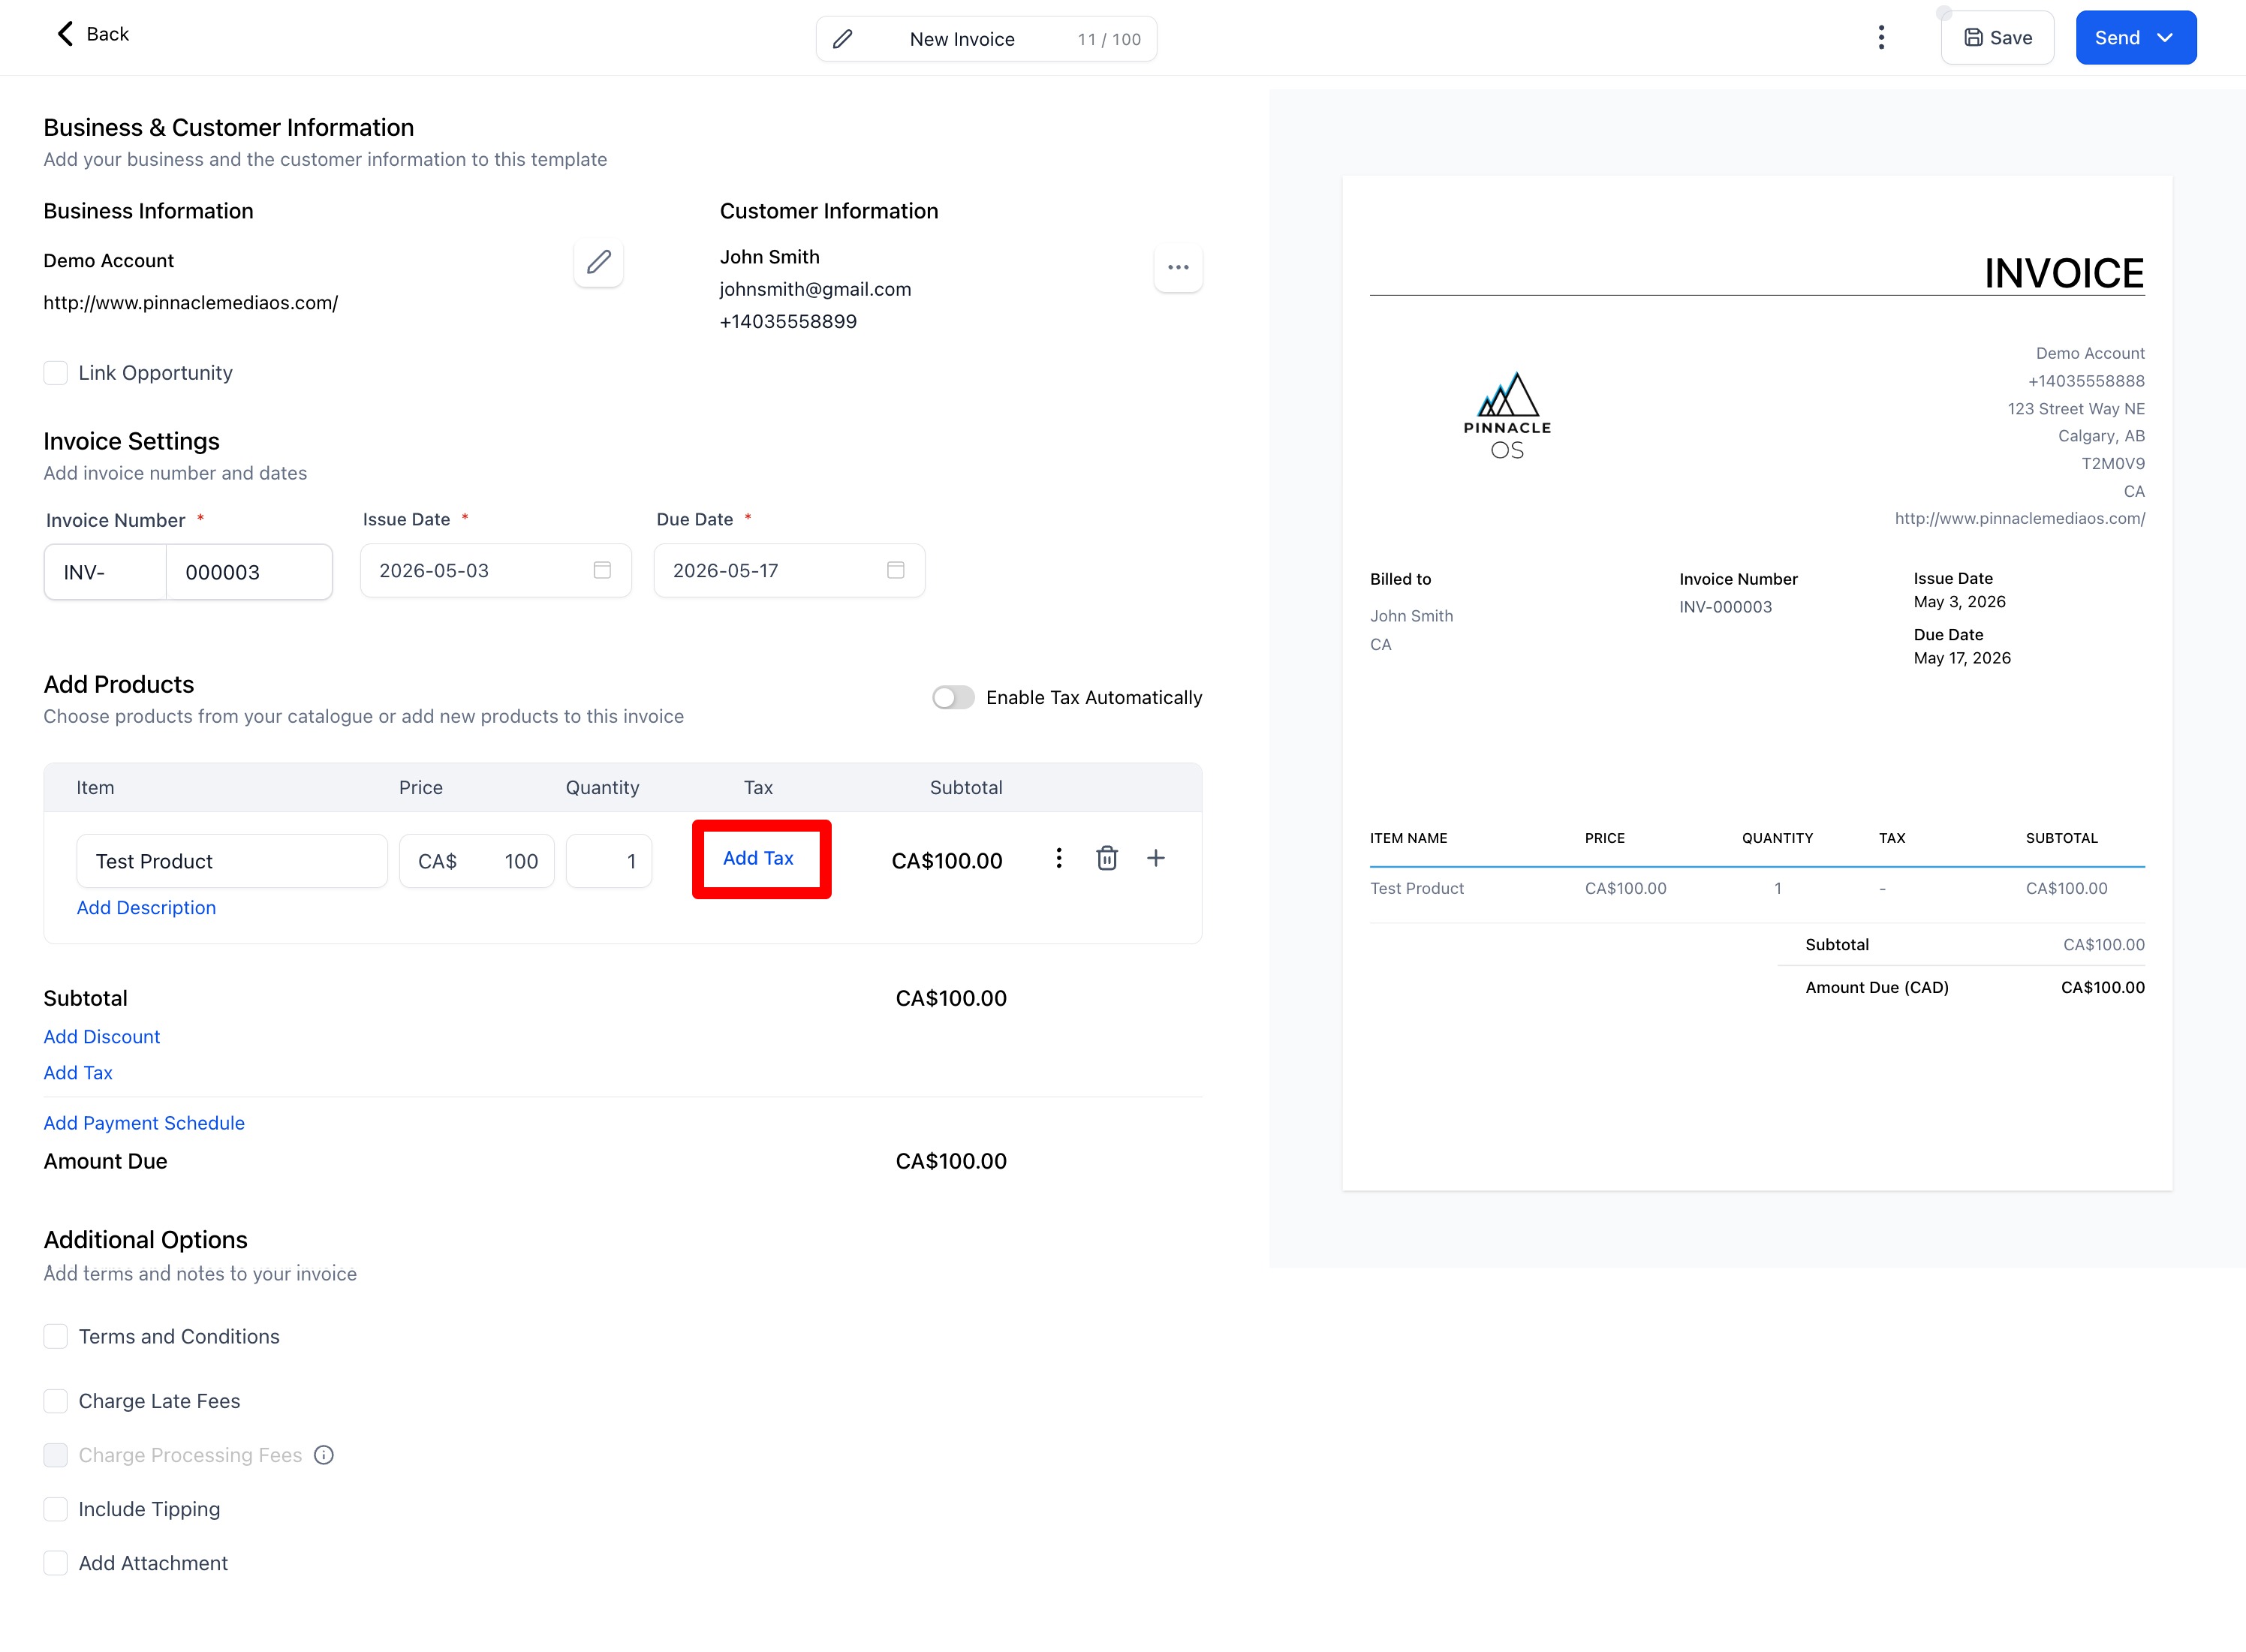
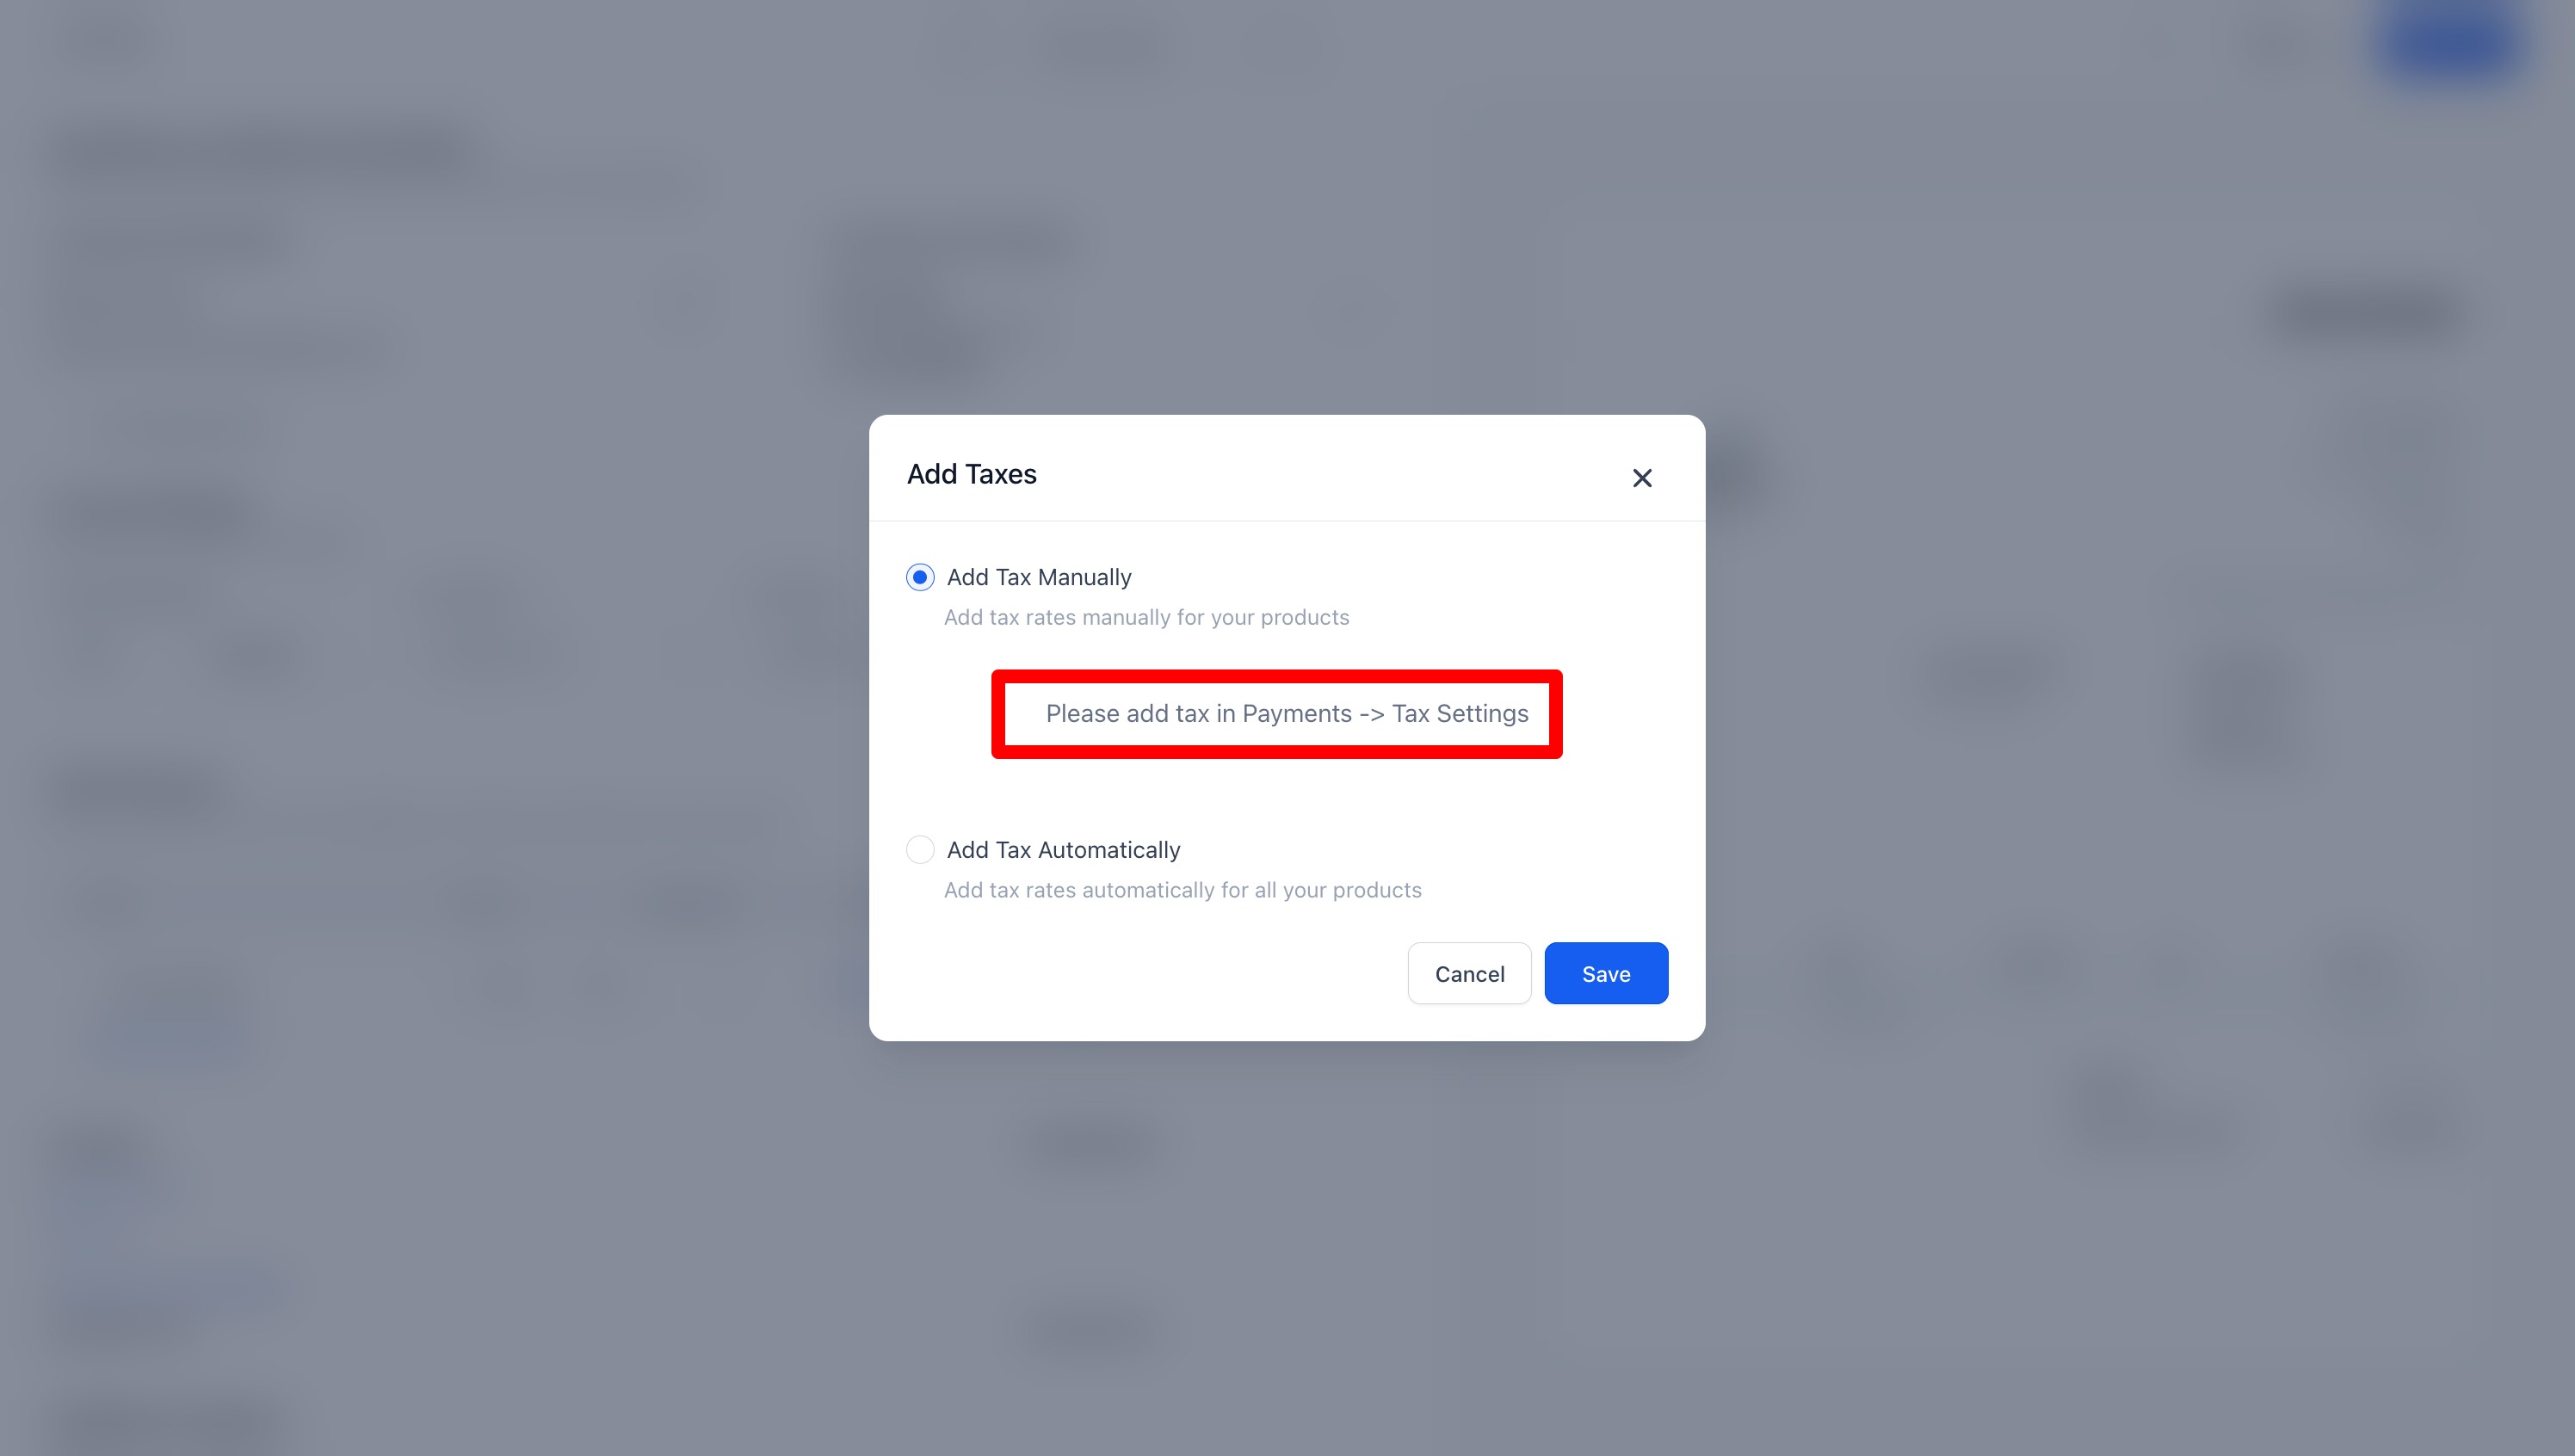
To add Taxes you must first add them in the Settings.
Go BACK to the Invoices Tab
Save your Invoice, ensure you Name your invoice
In the Invoices Tab, select the Settings Tab
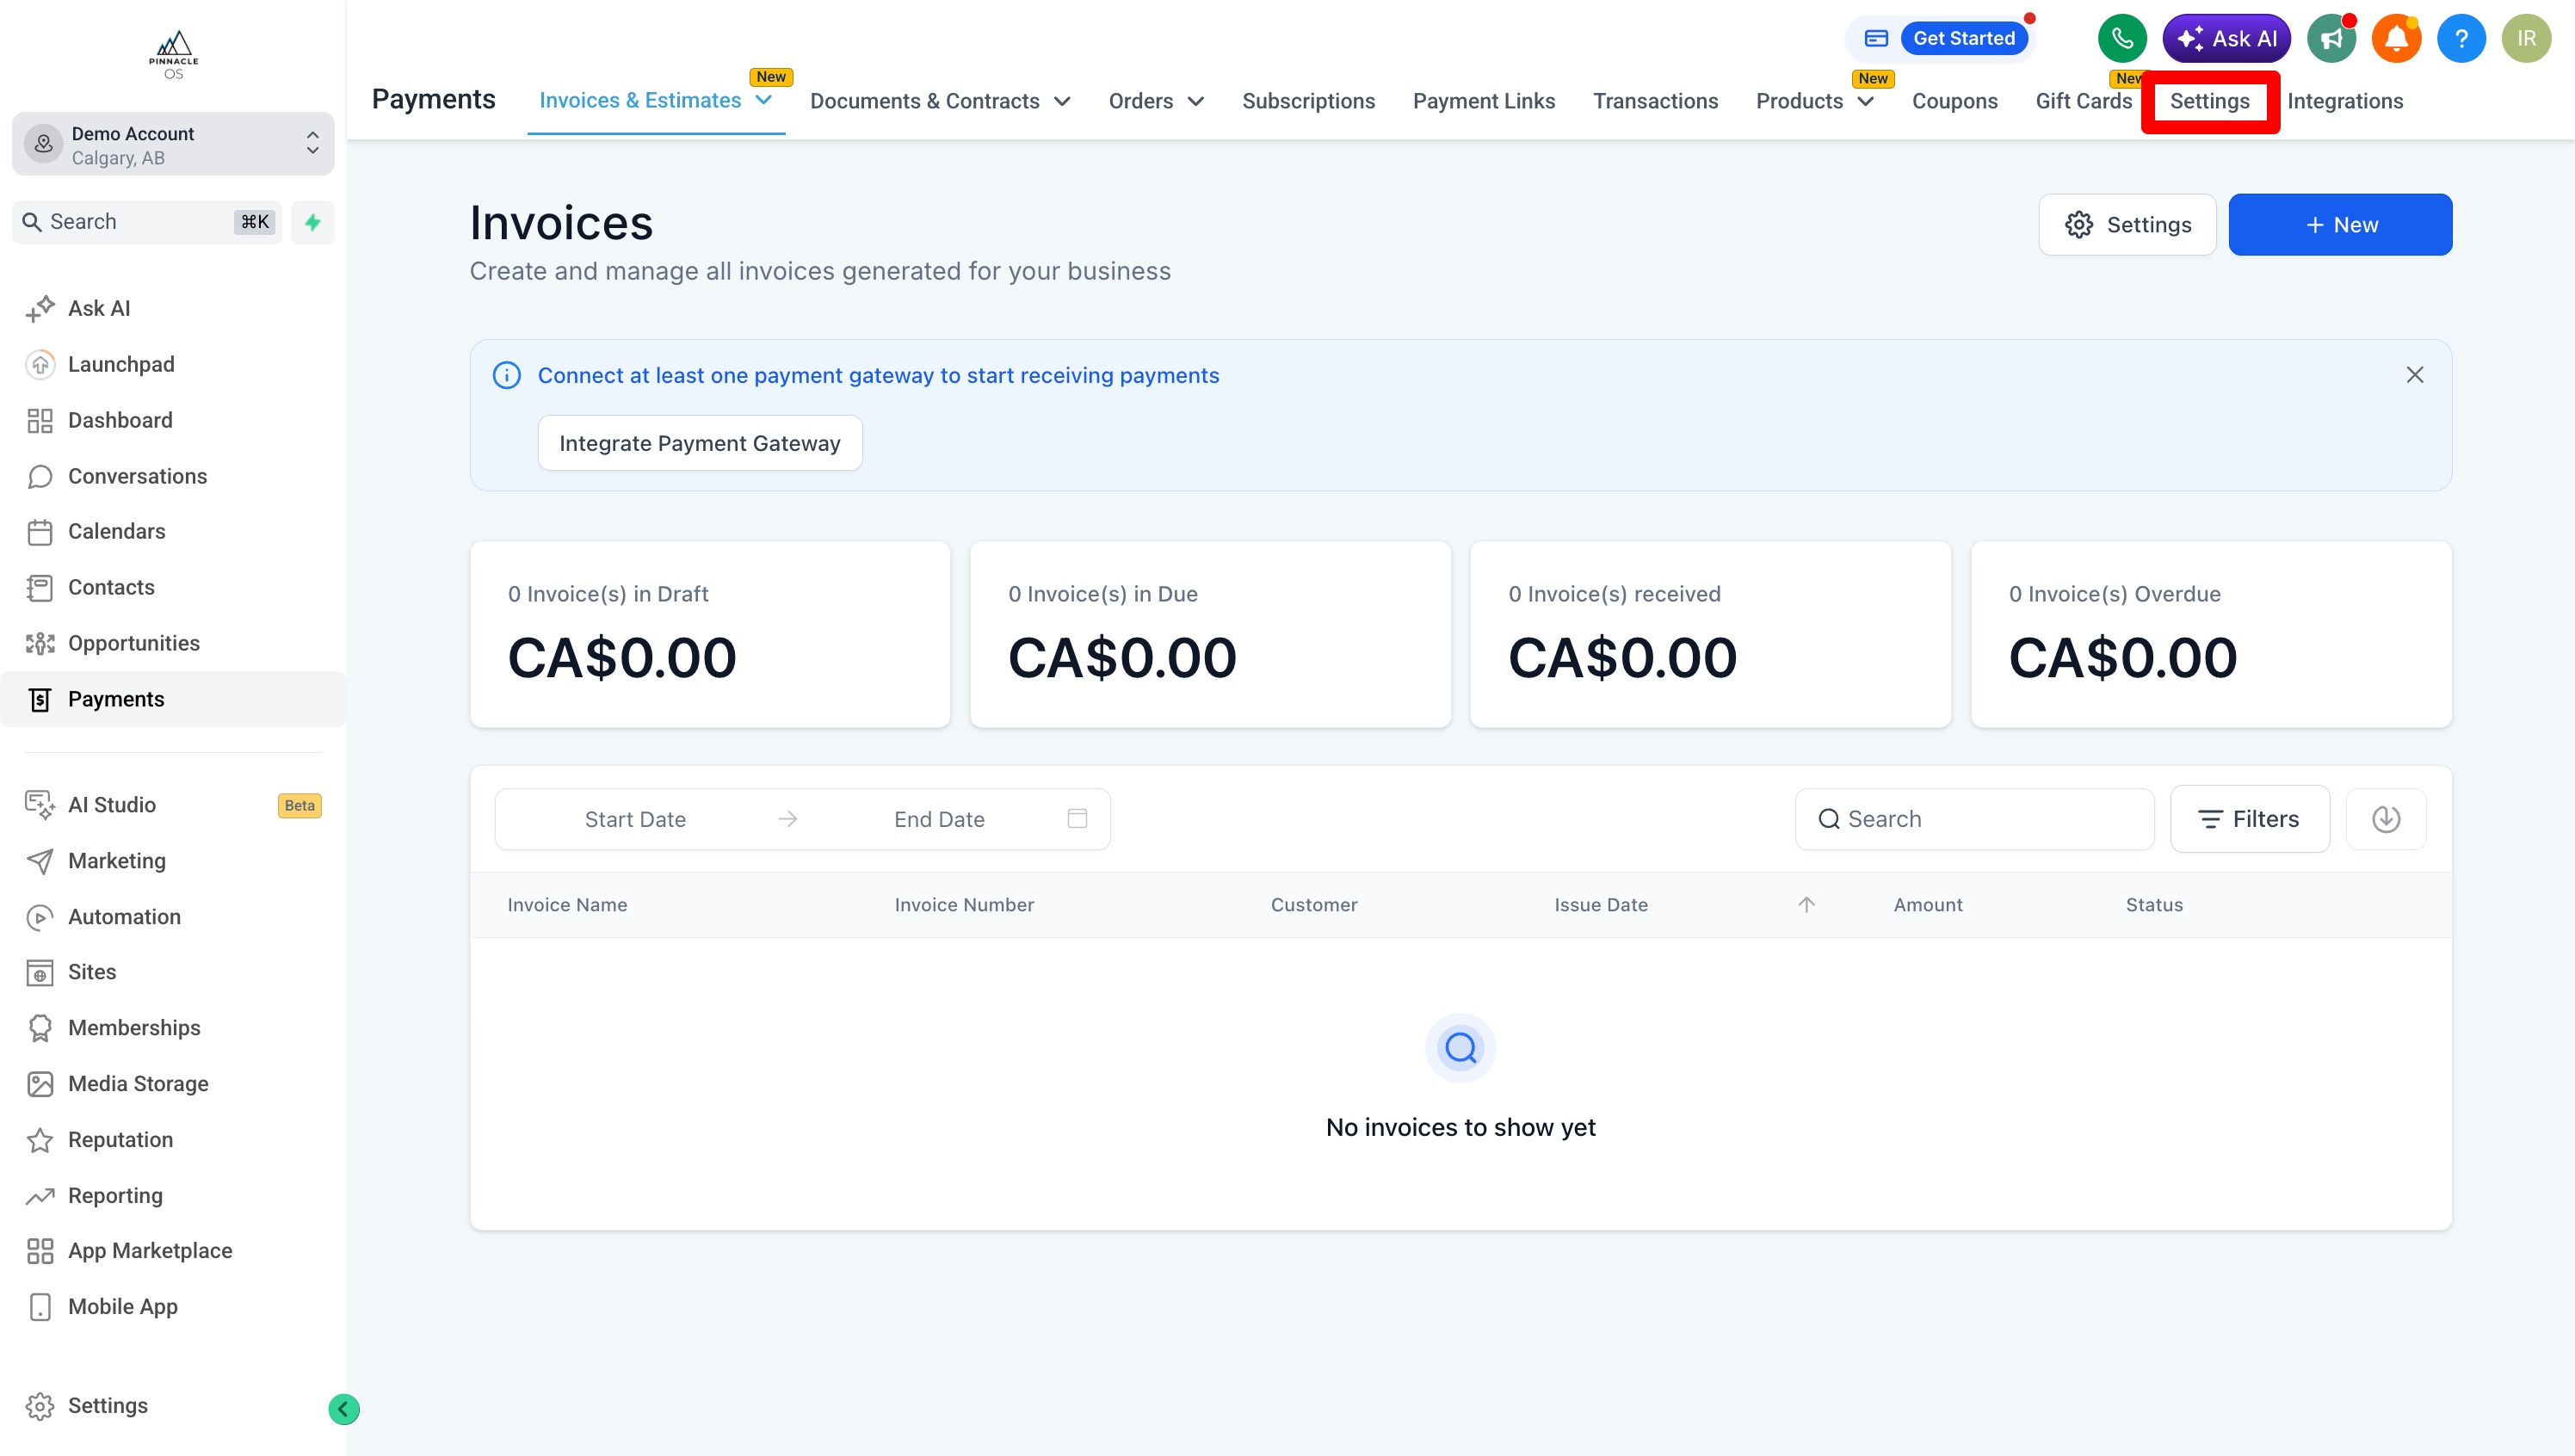
Select Taxes
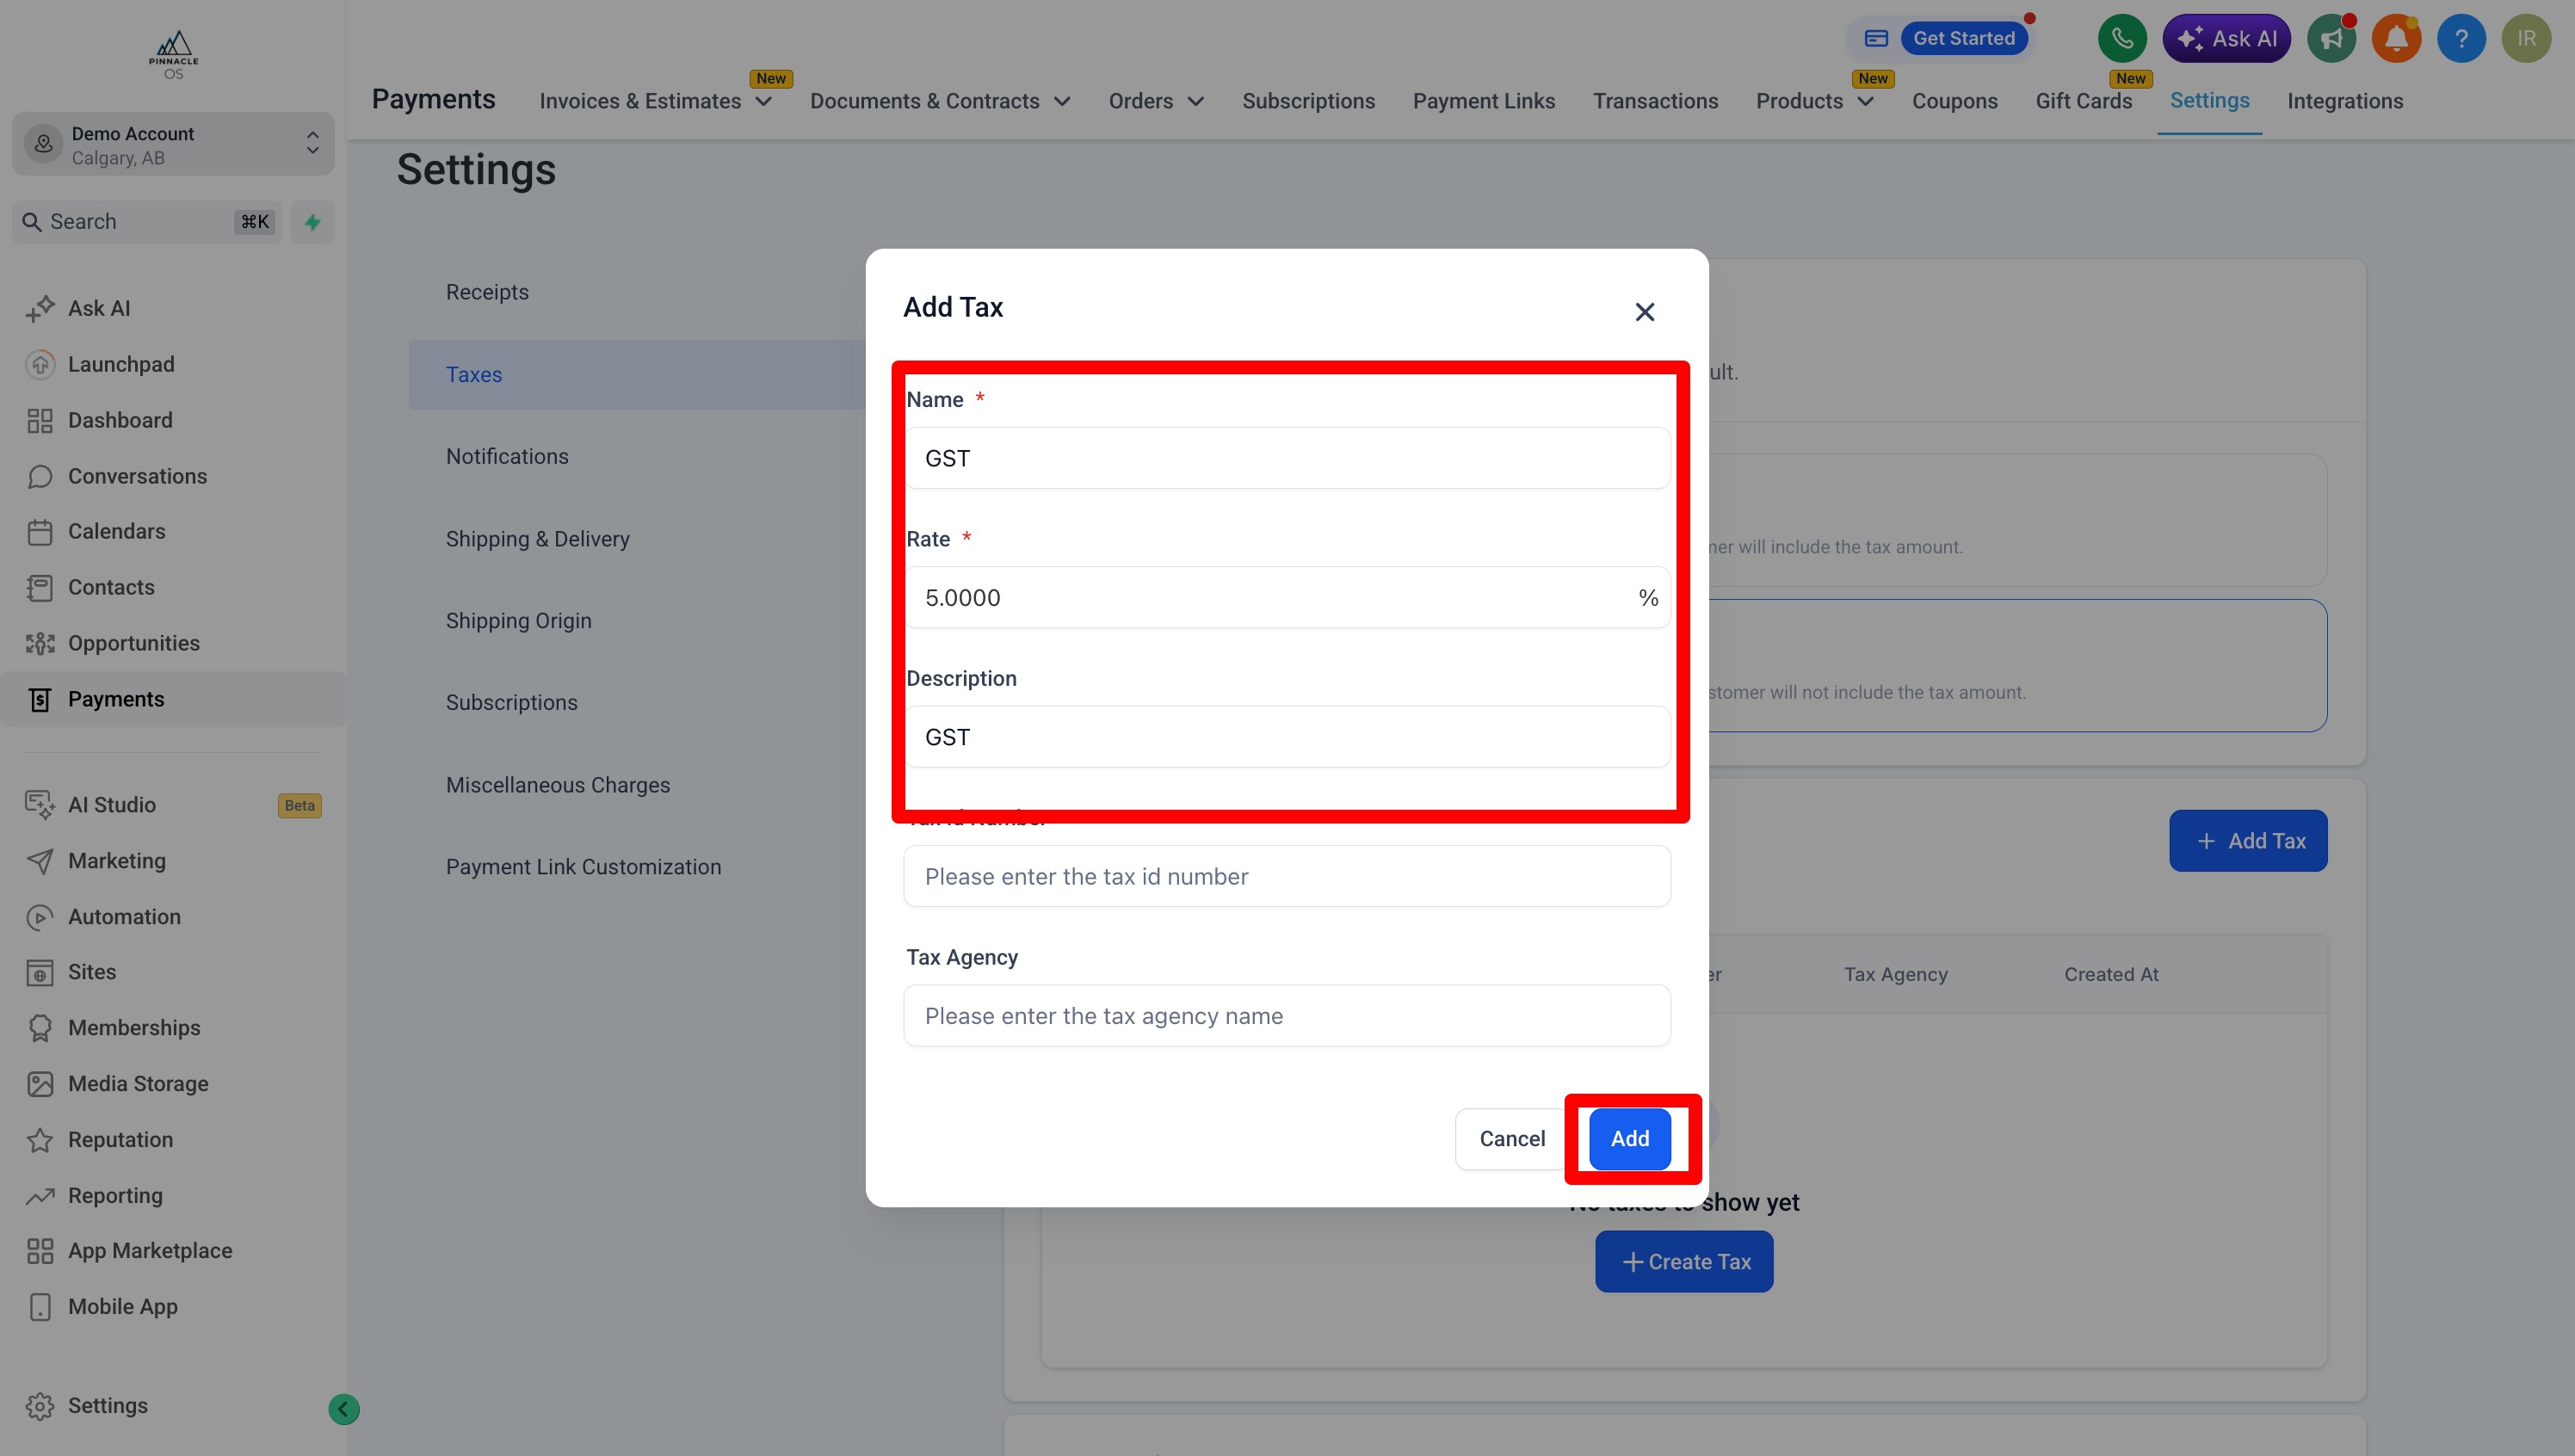
+ Add Tax or Create Tax
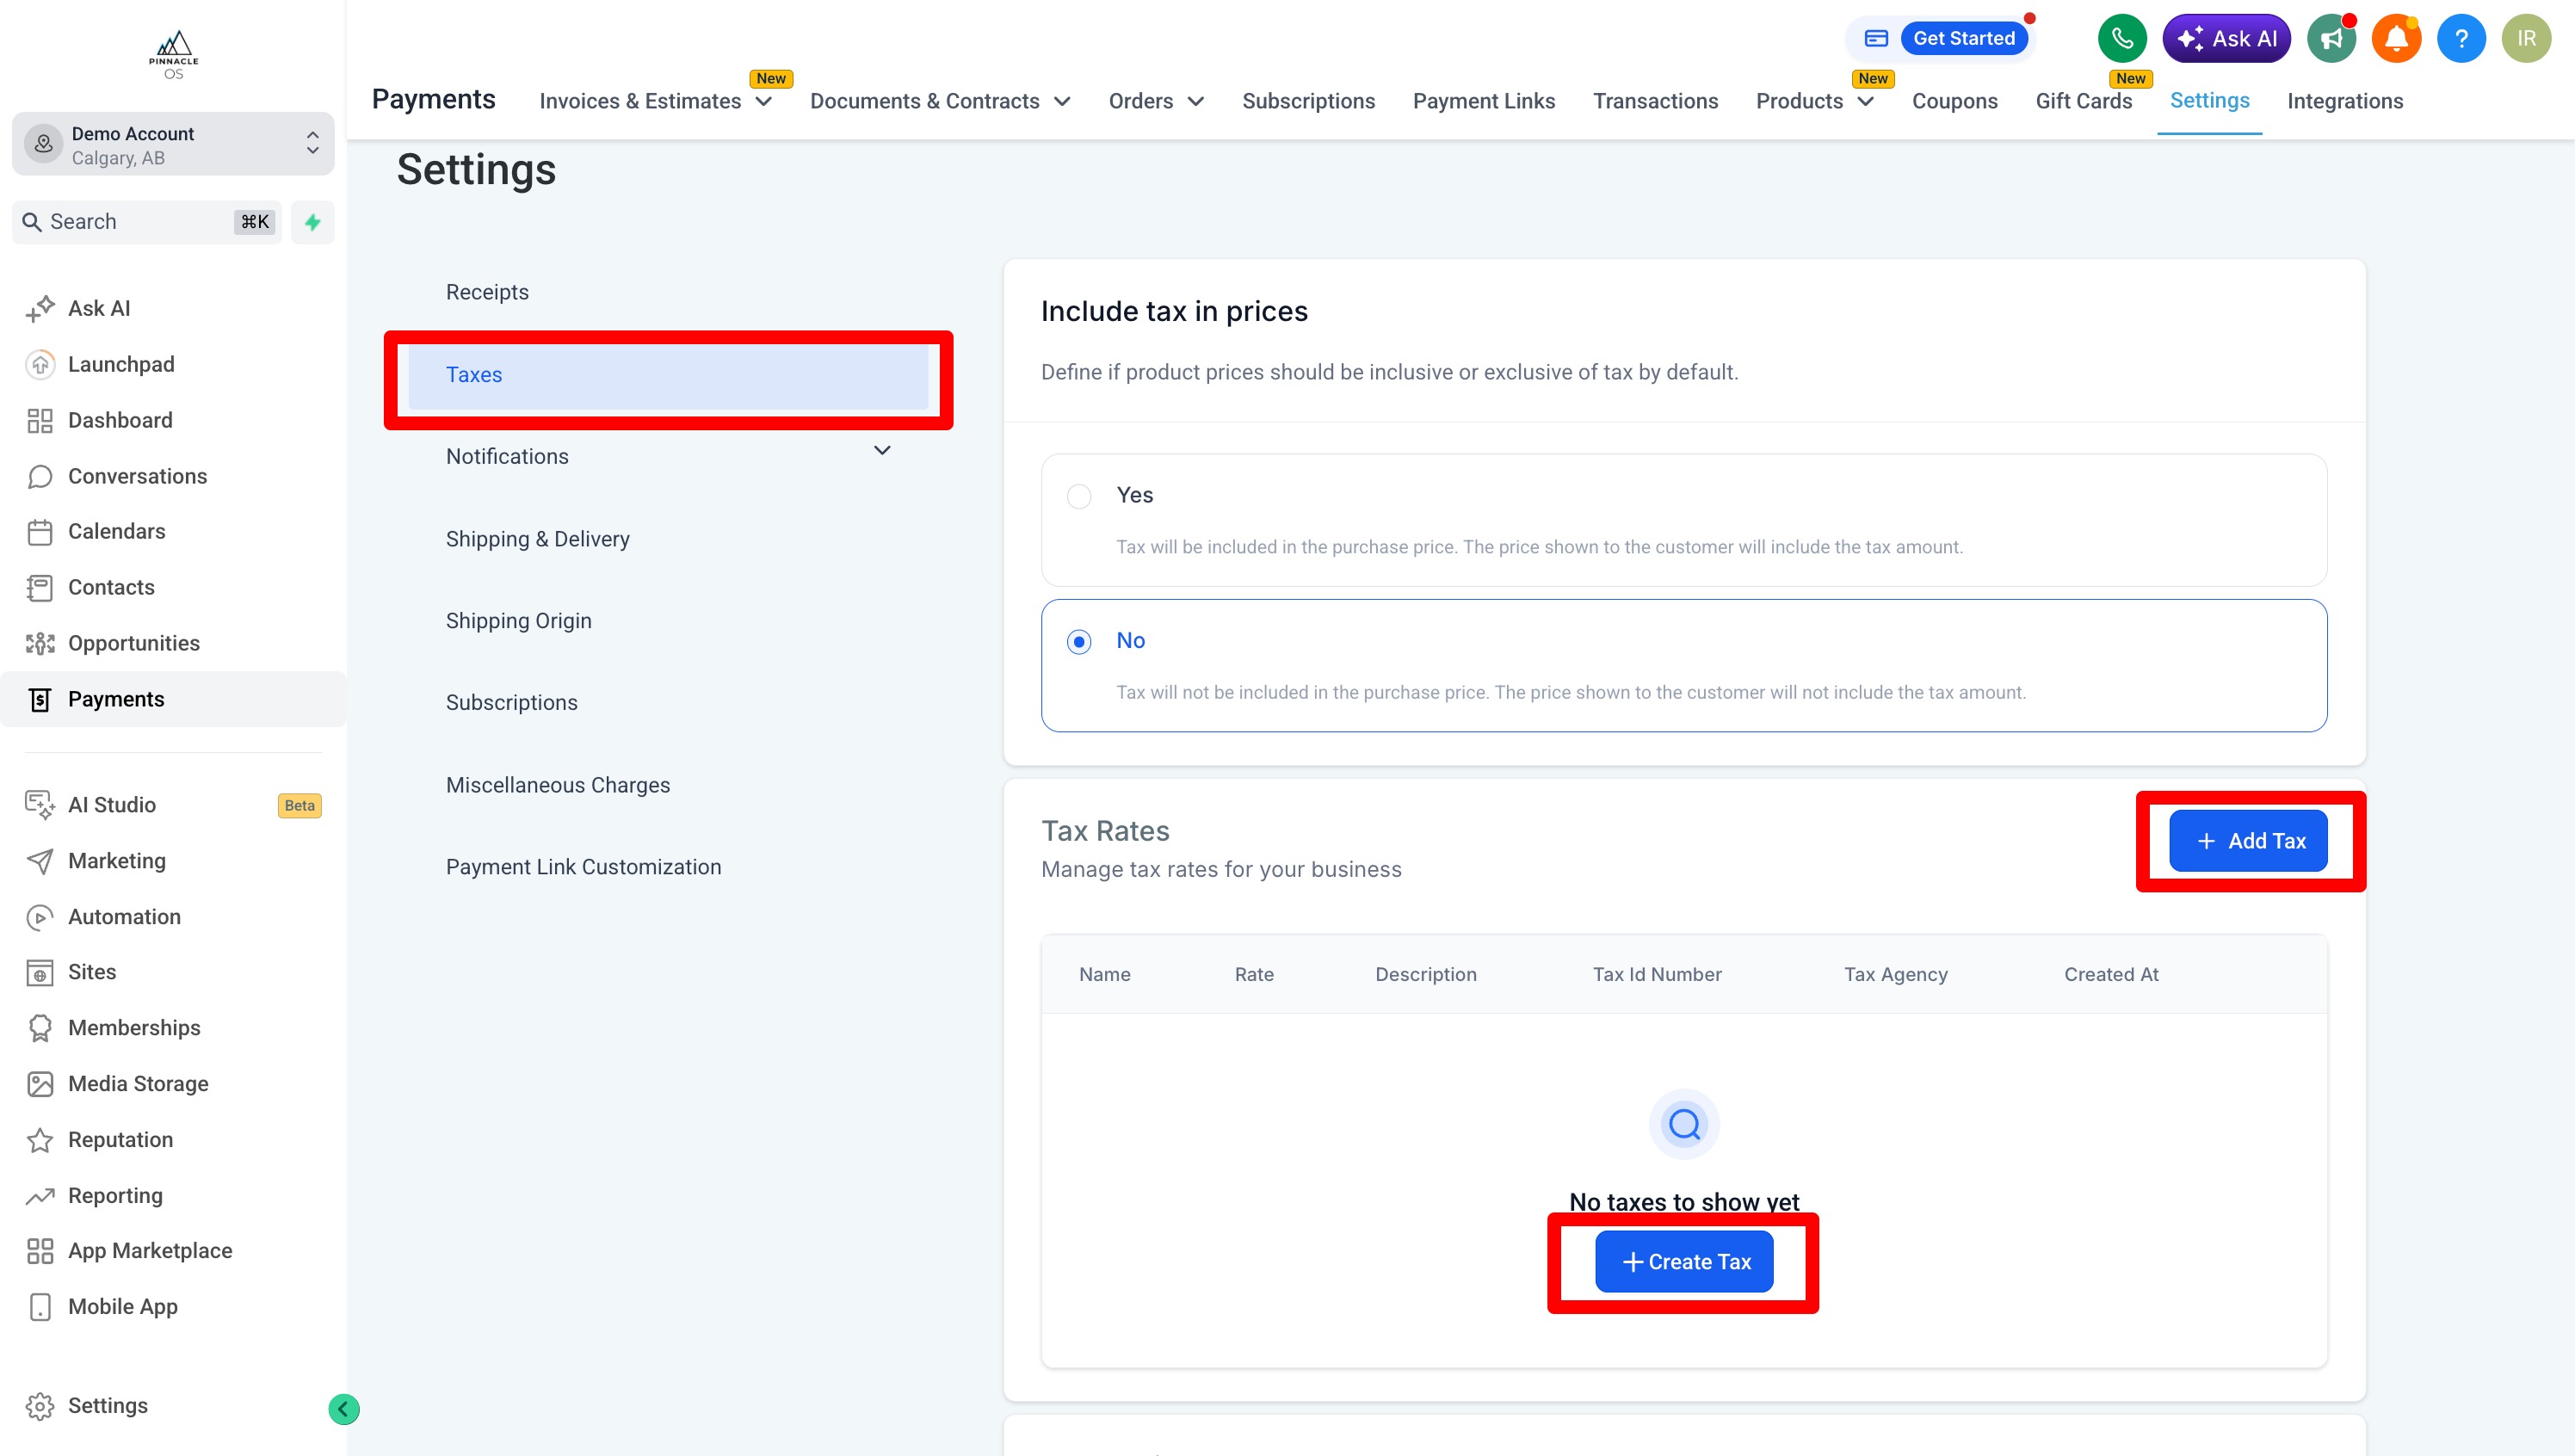
Add the appropriate Tax Rates
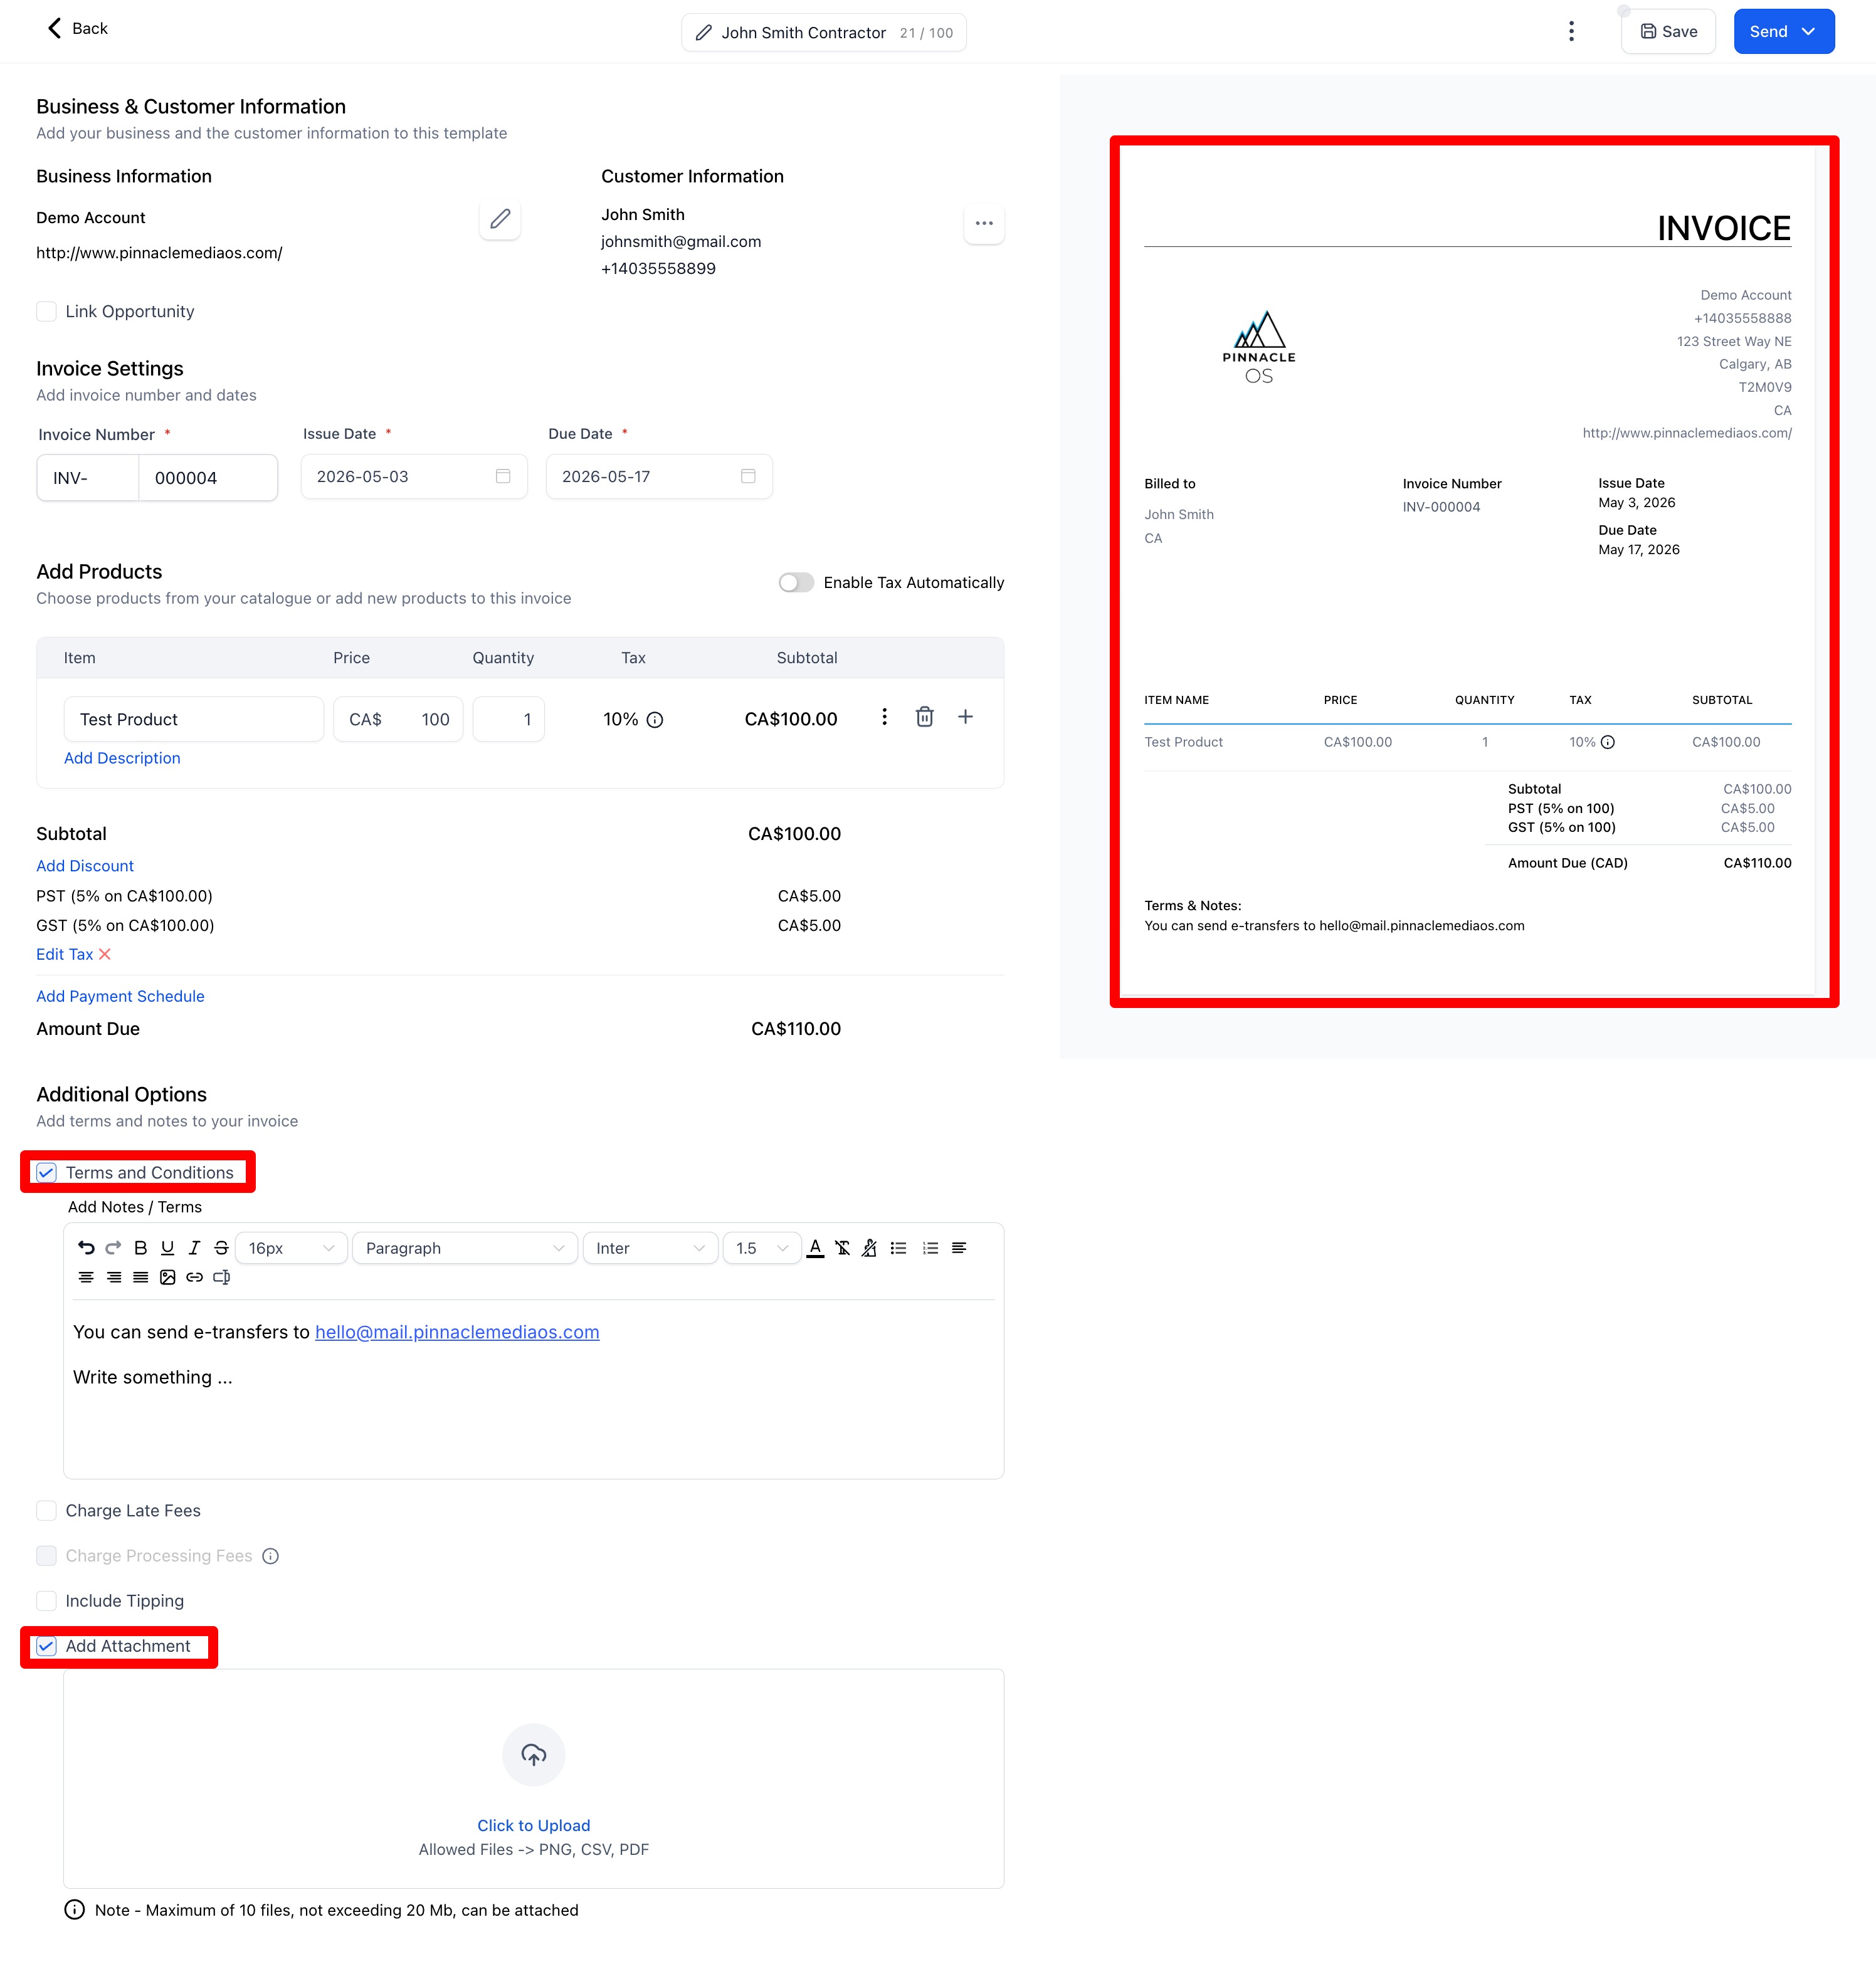
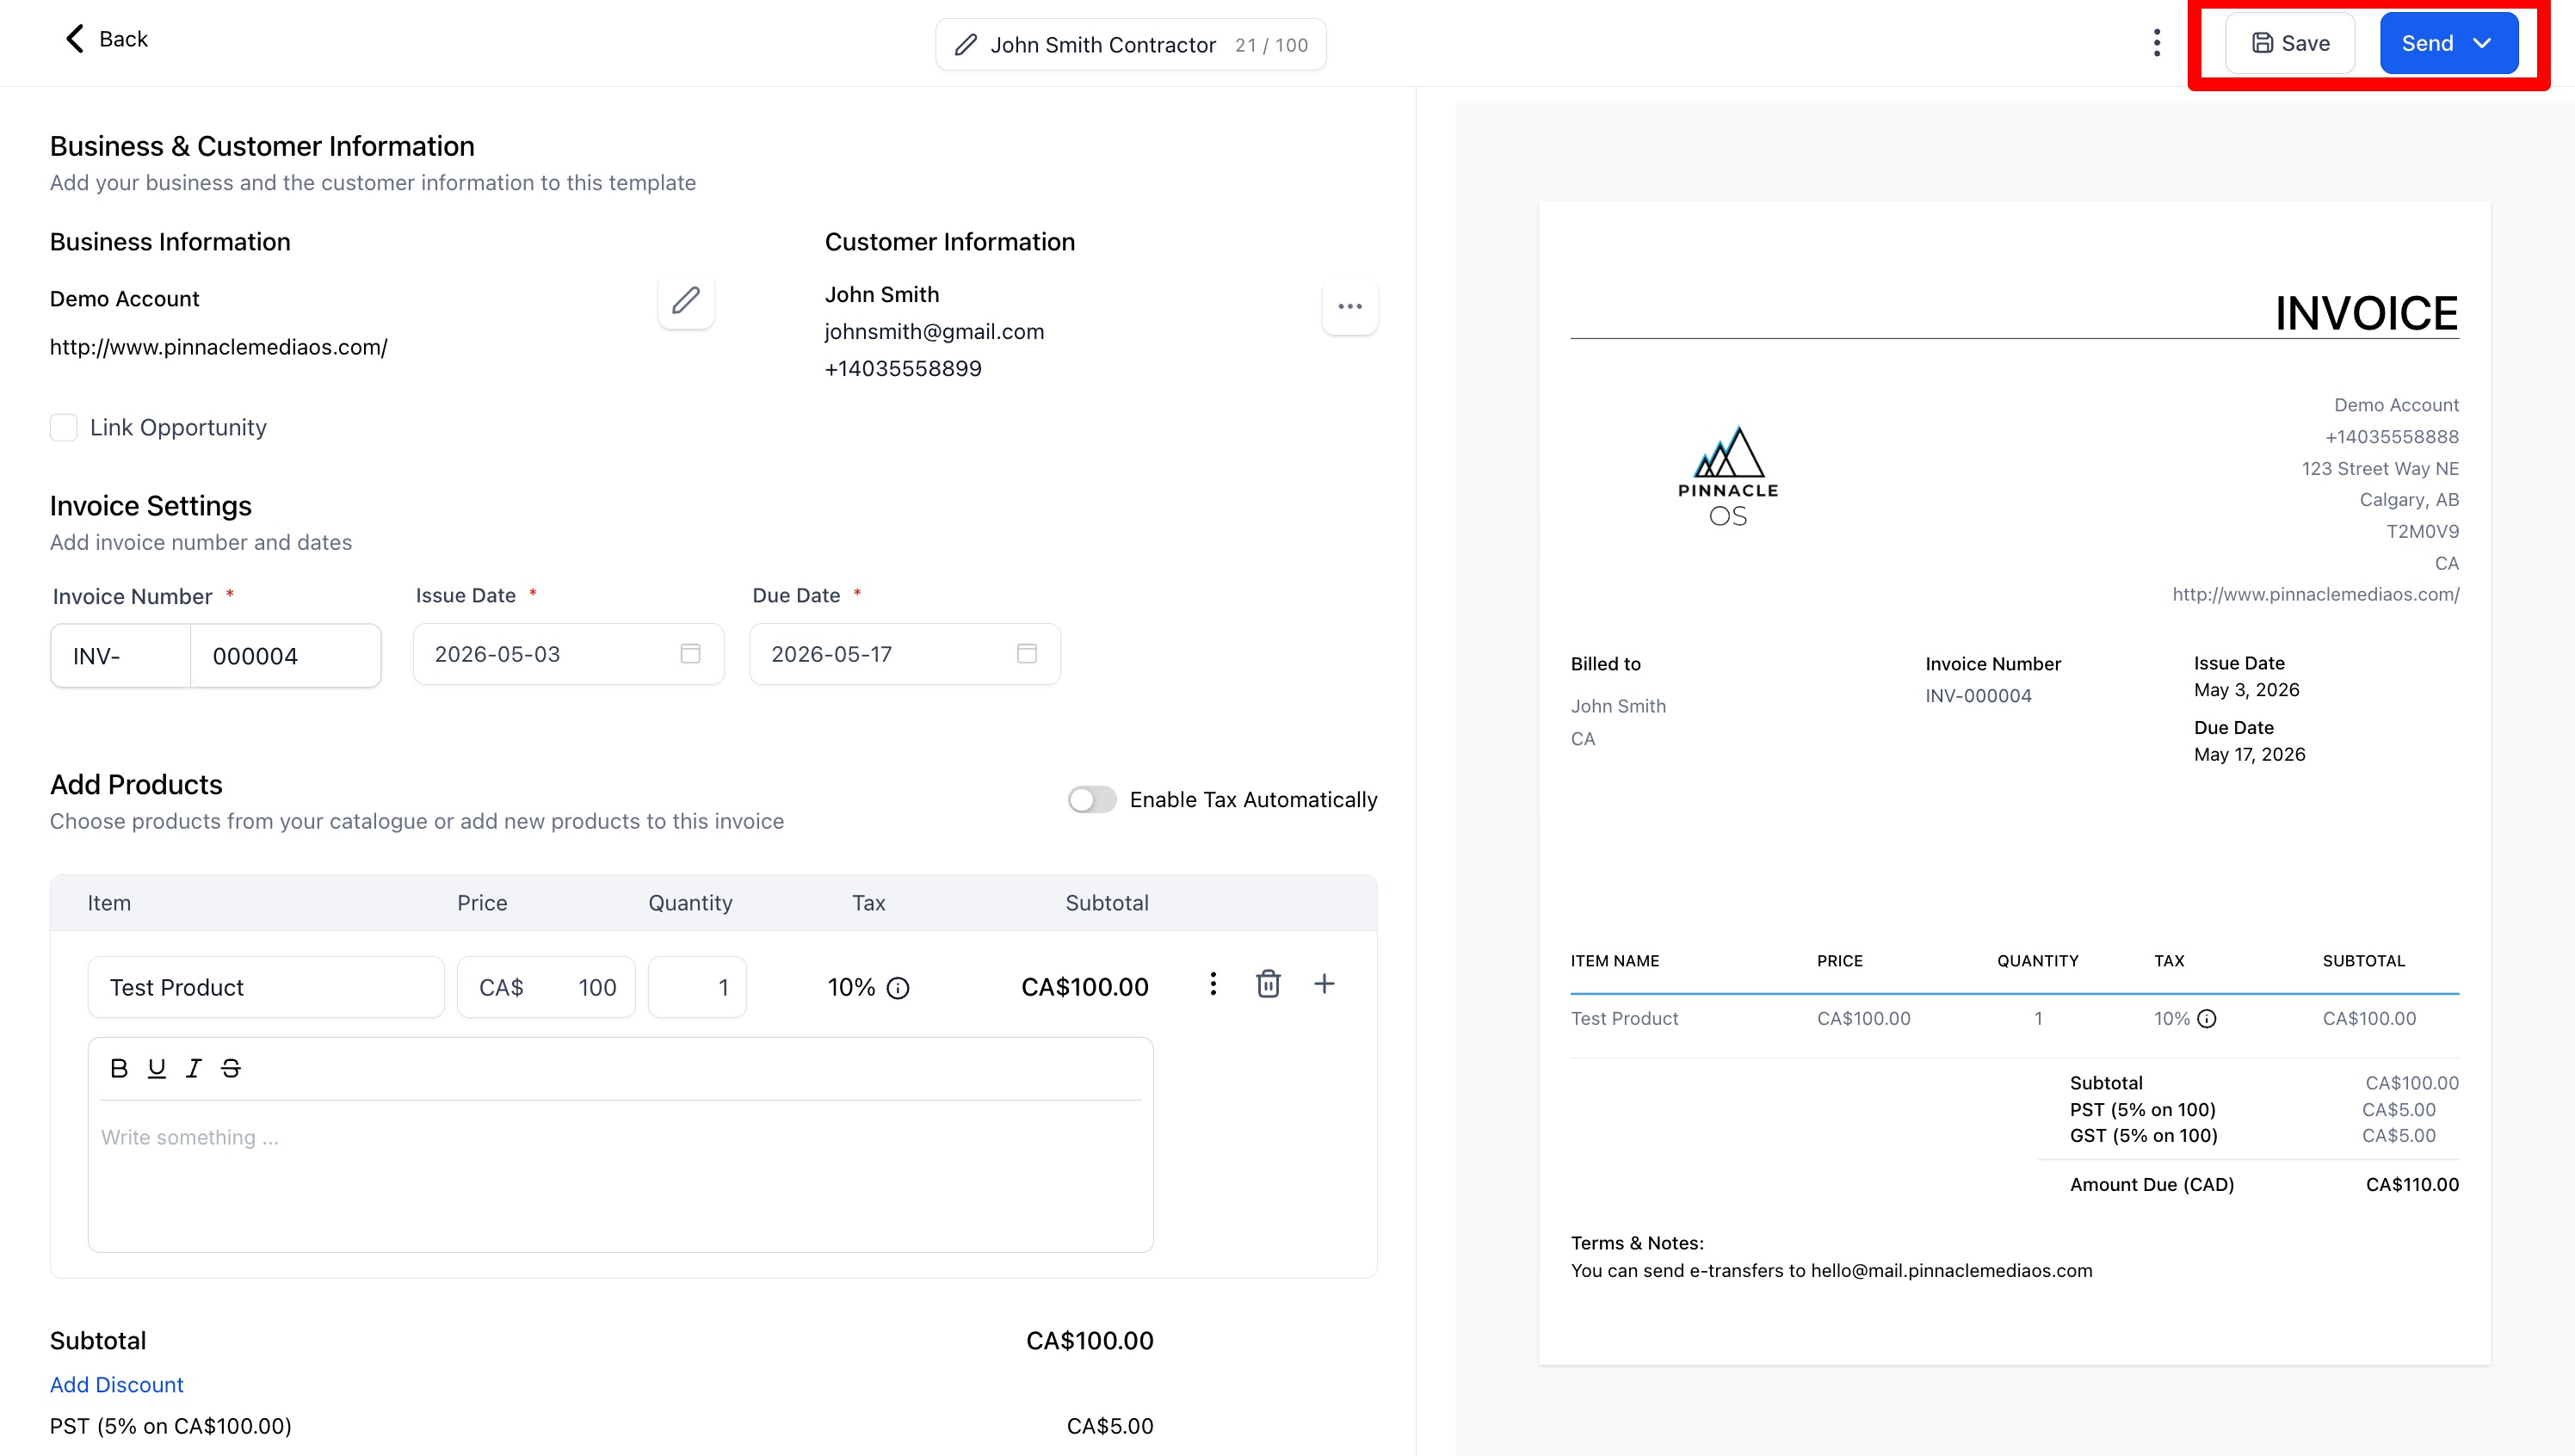
Back to your Invoice,
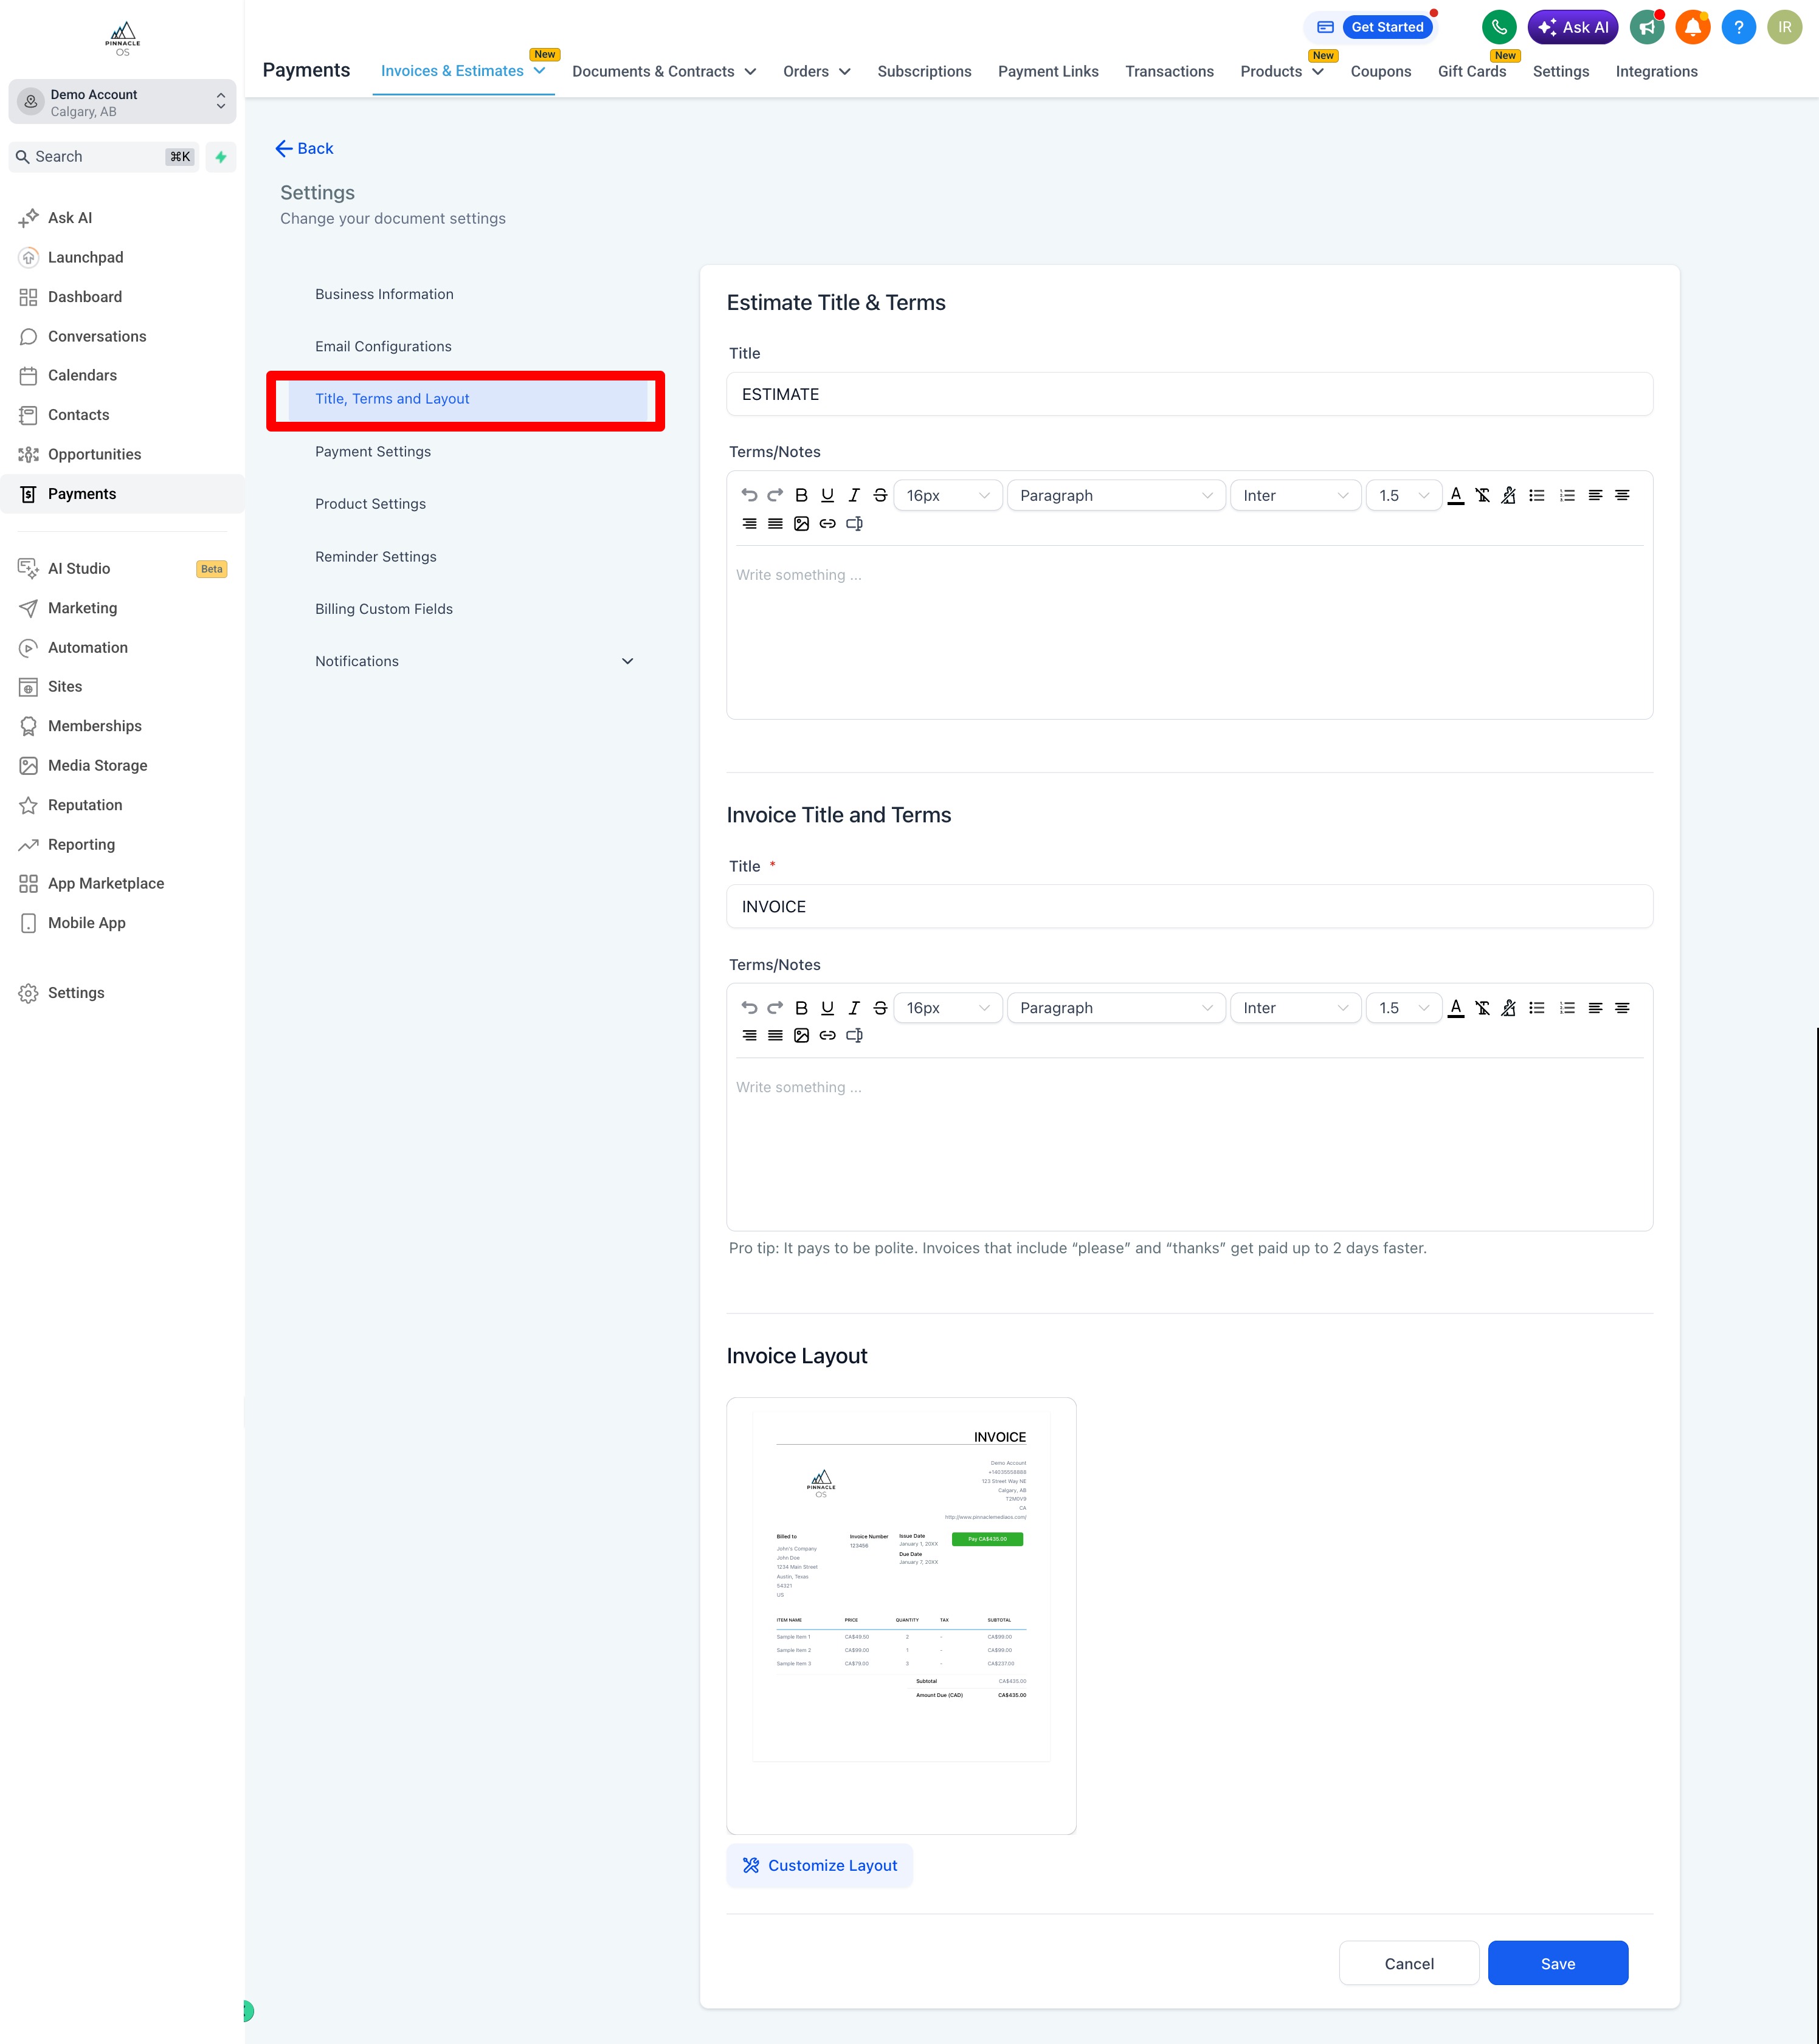
You can create Terms & Conditions and Links per invoice
On the Right you can Preview your invoice
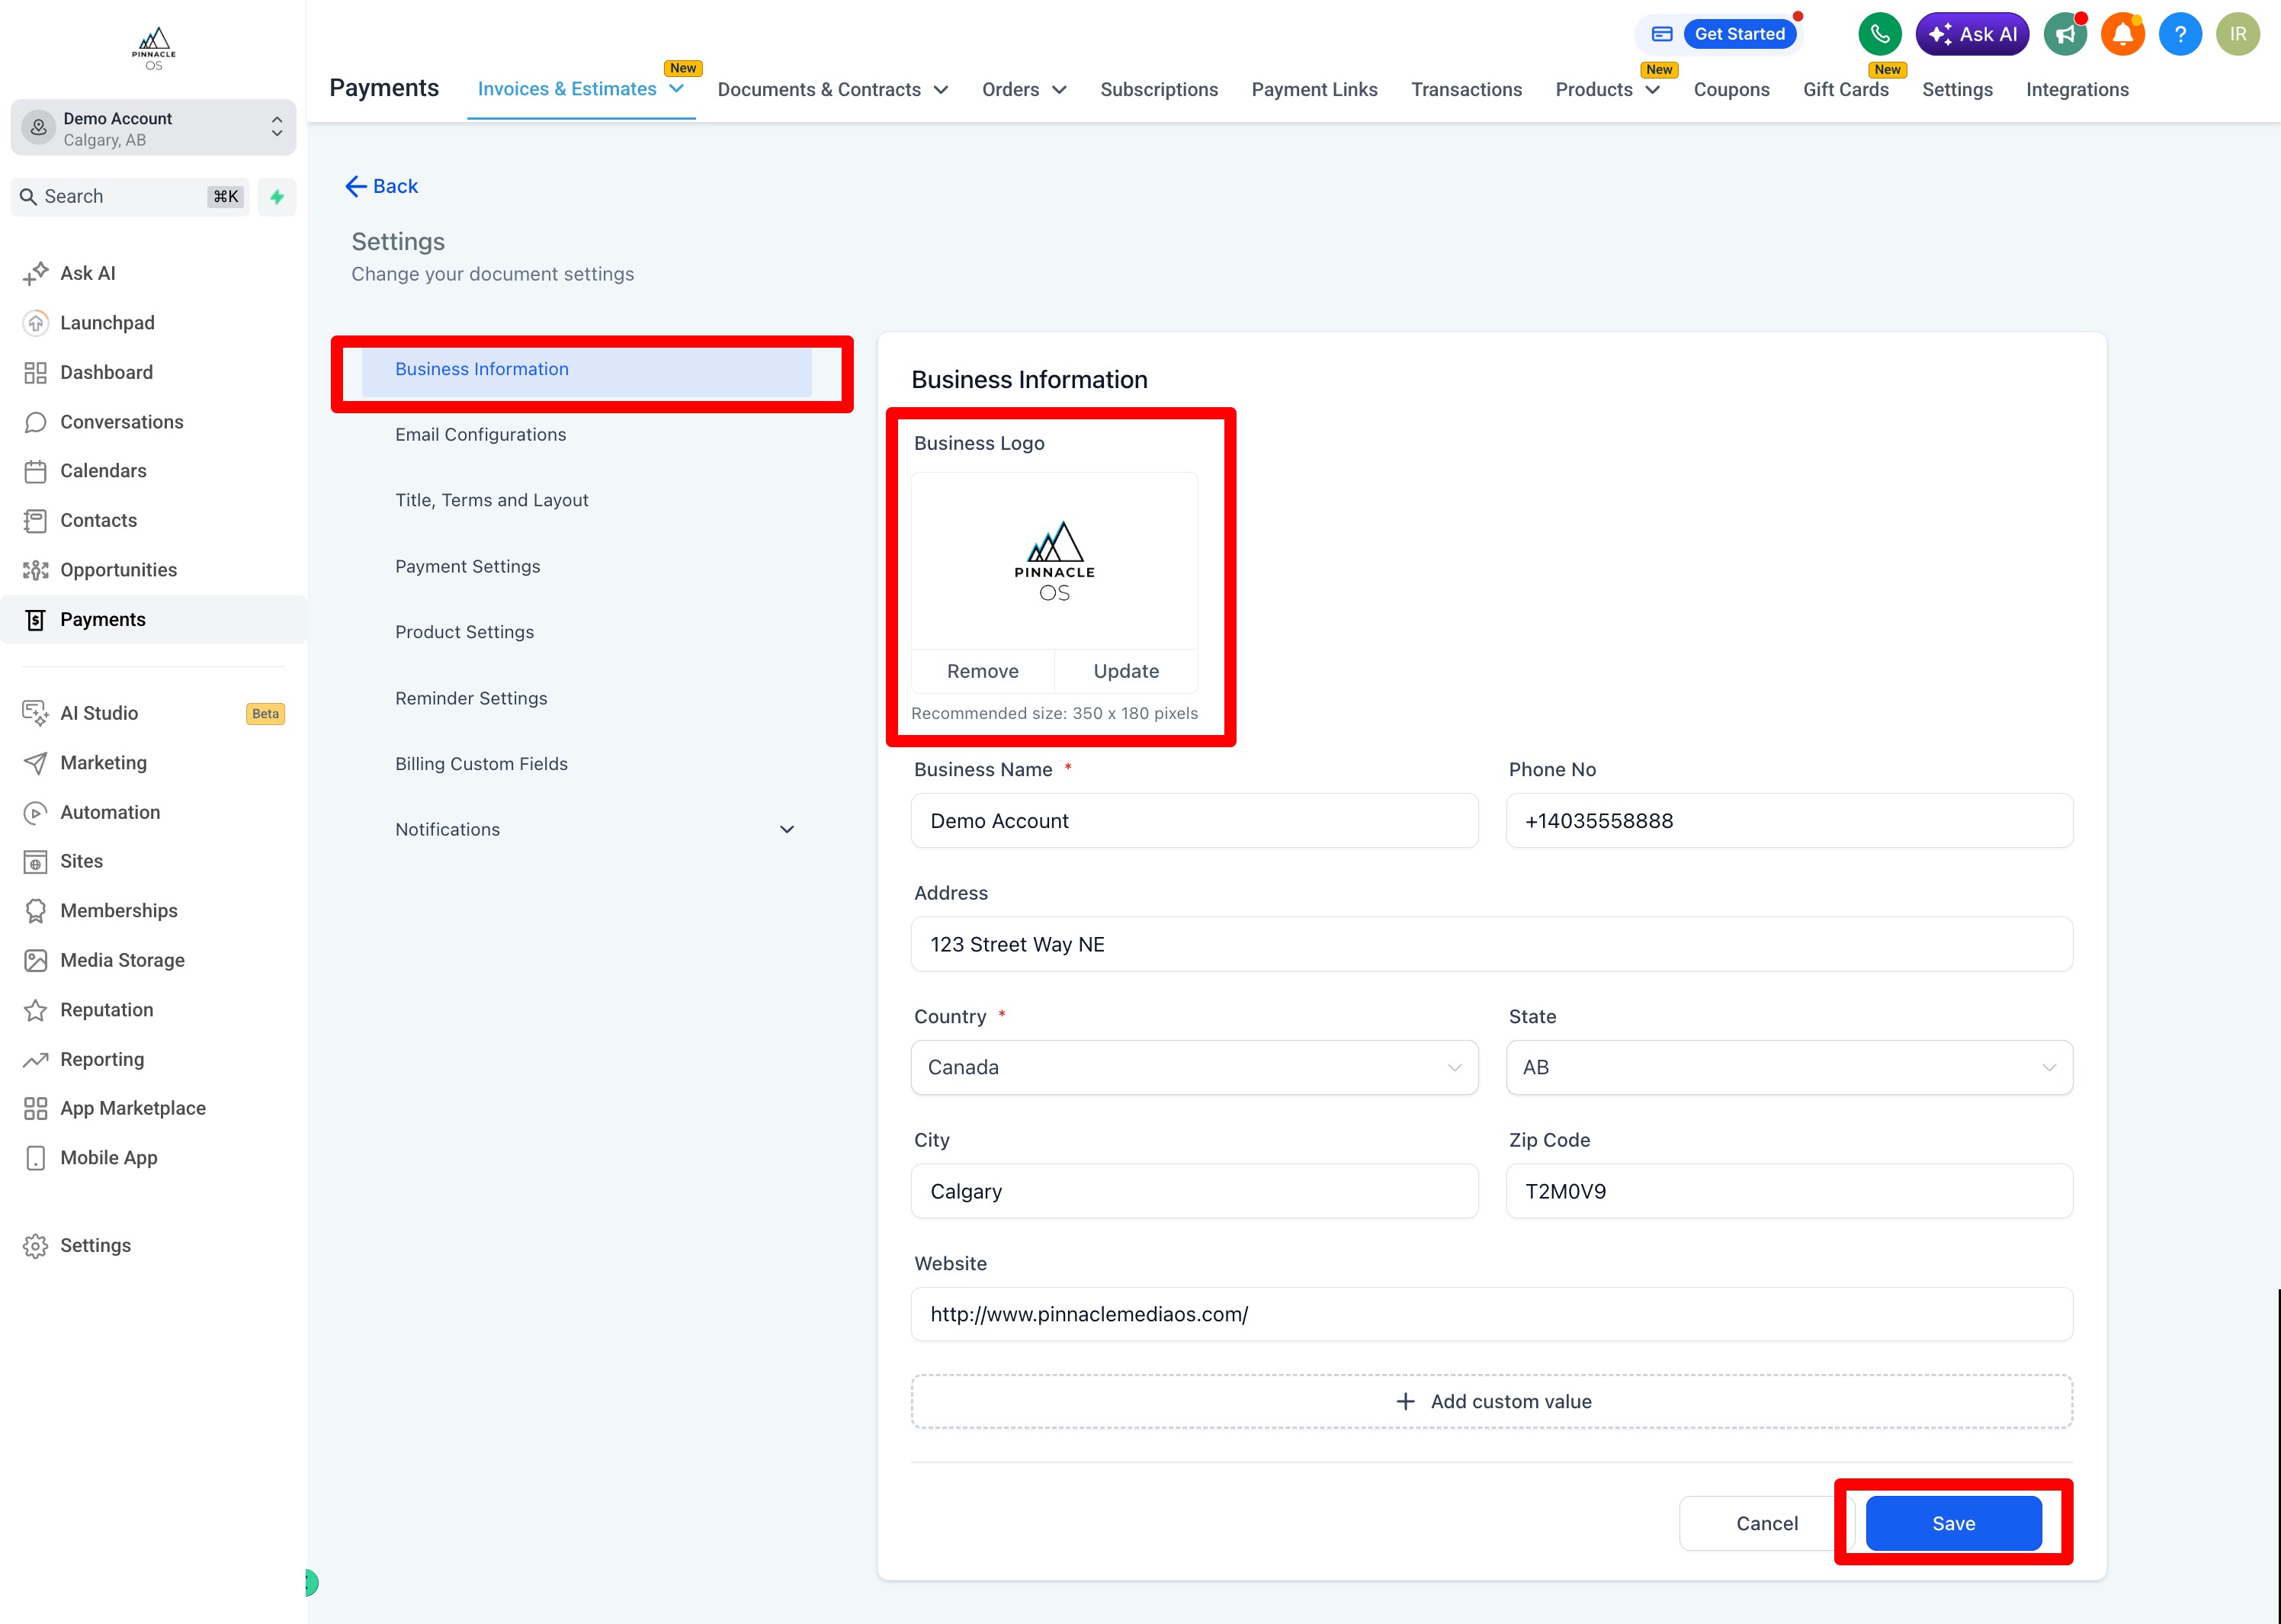
TIP: If your Logo is missing, you can add it in the Business Profile
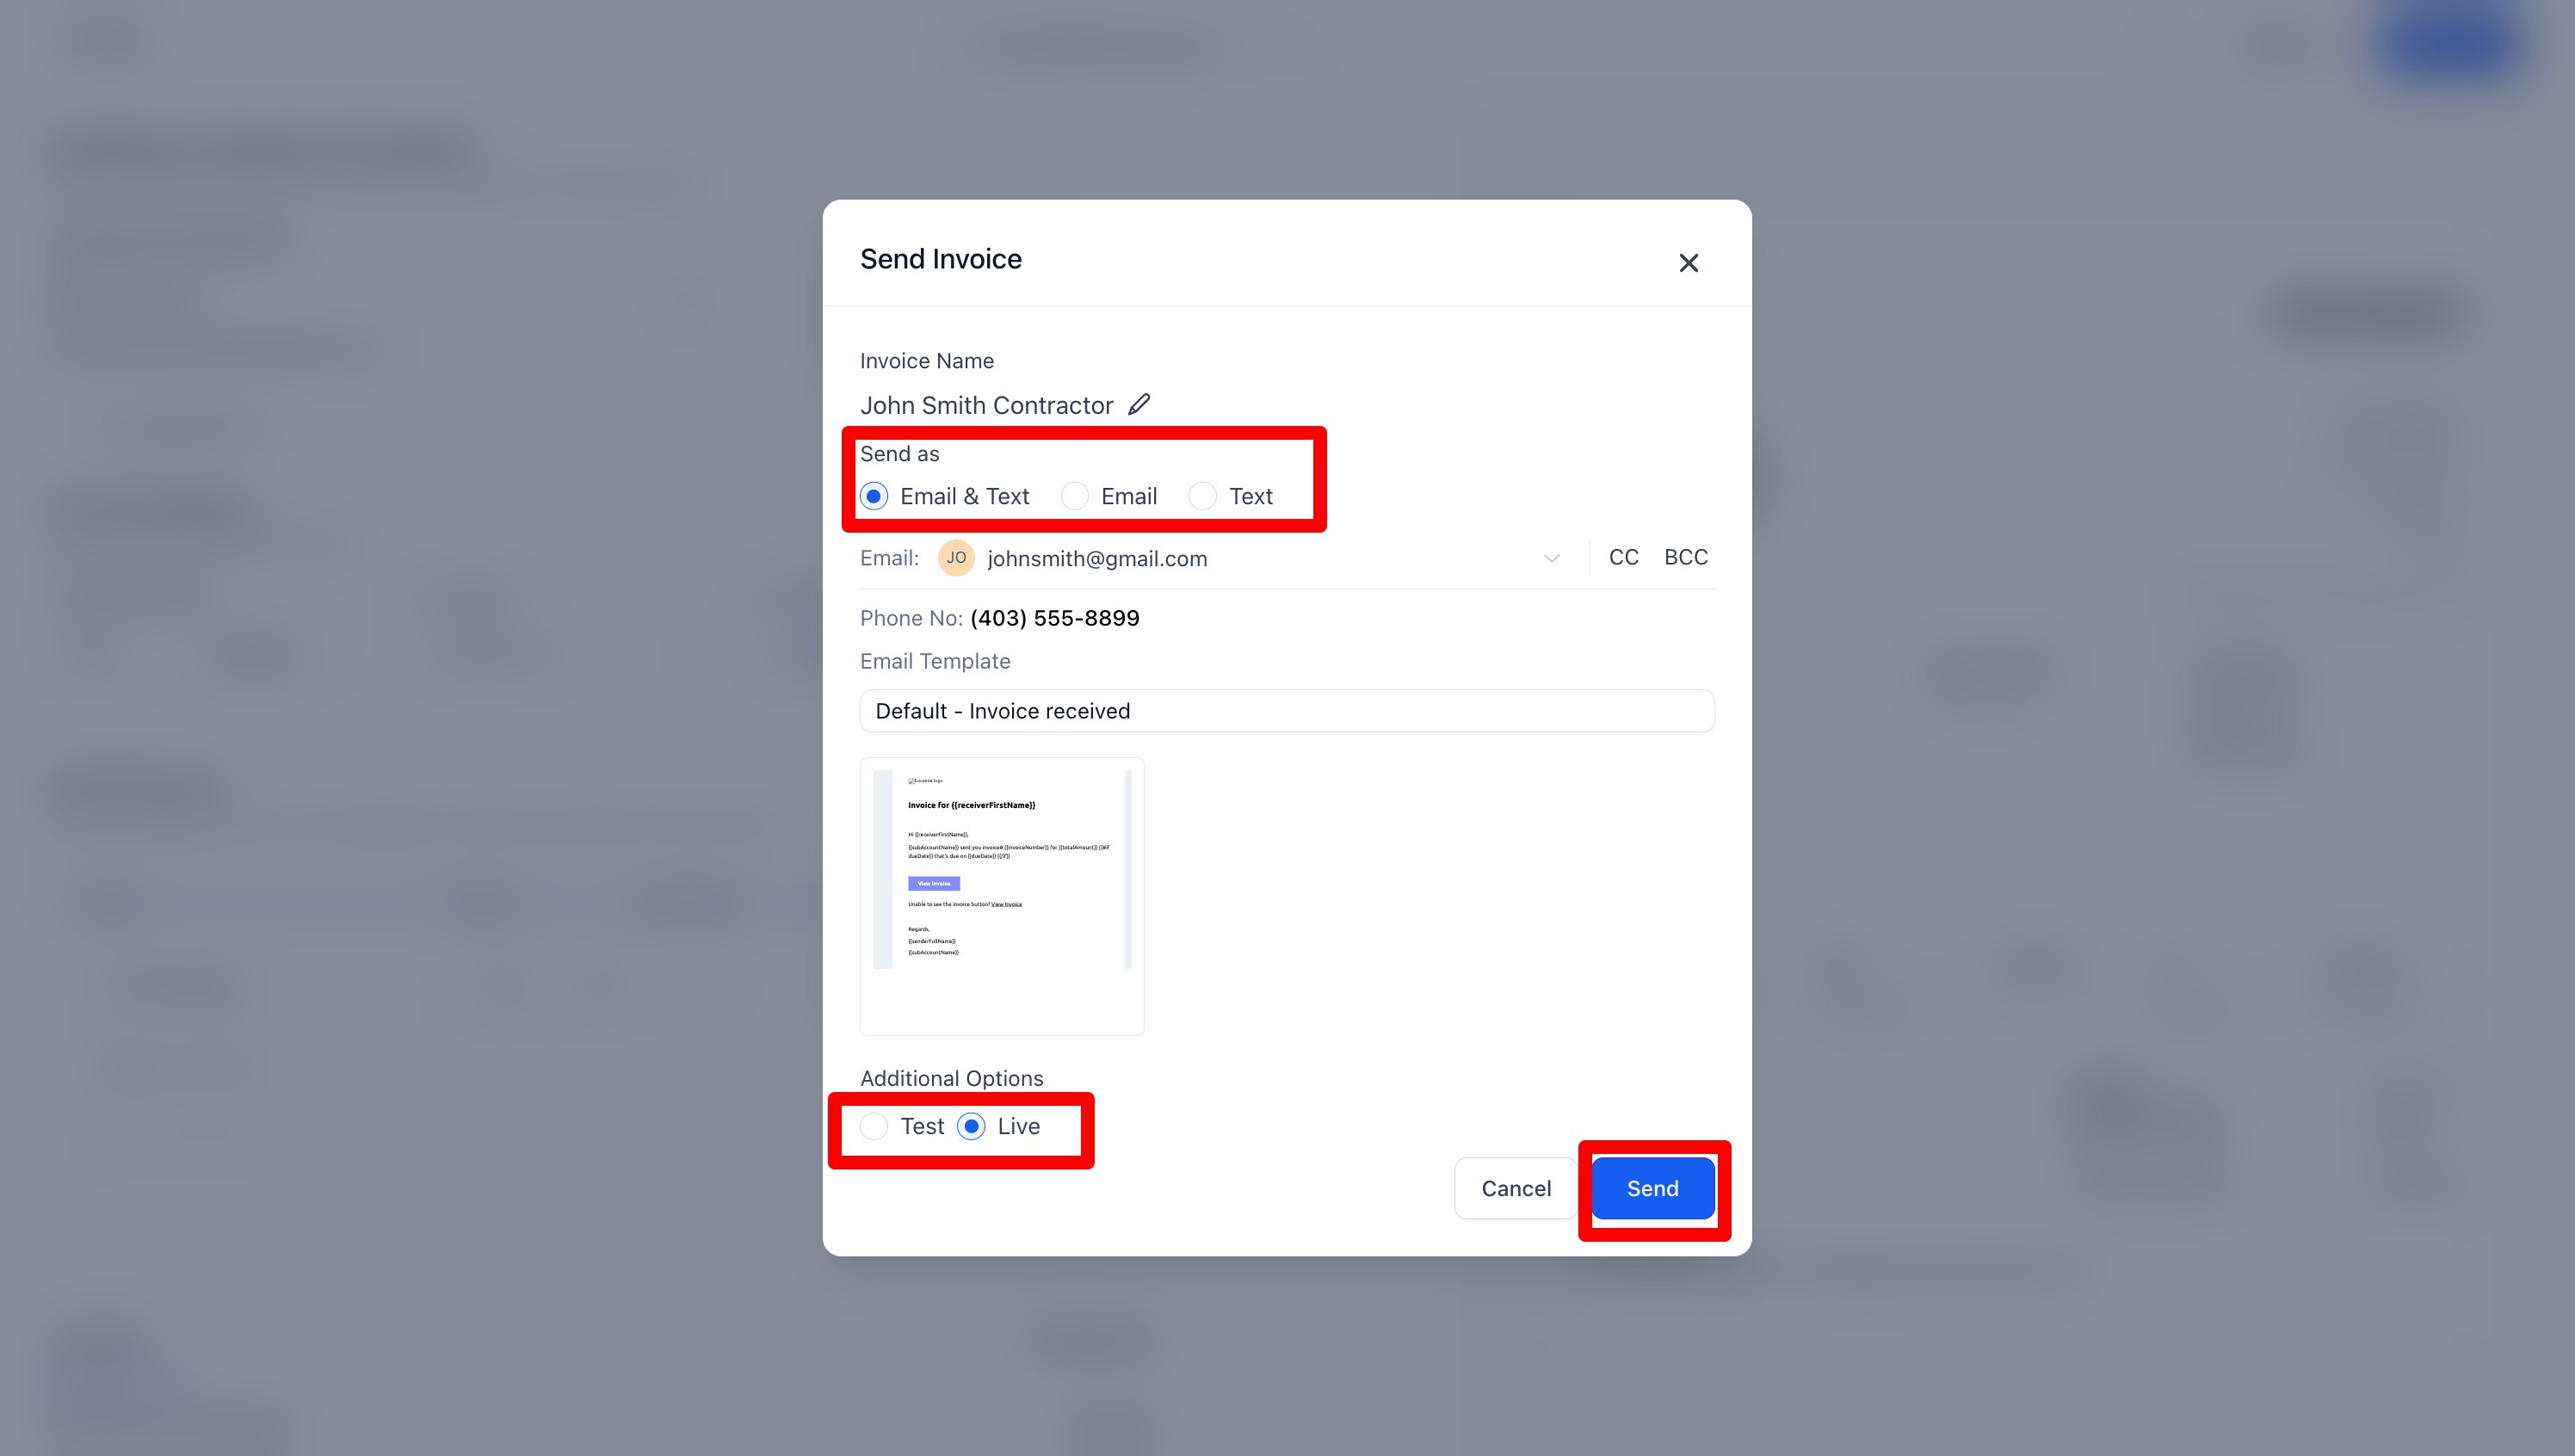
To Send: Press the Send Button
You can Send both Email, Text and/or Both
TIP: To send via Text, you must first have a Purchased Phone Number (see Phone System Tutorial)
Saved Invoices are in the Invoices Tab
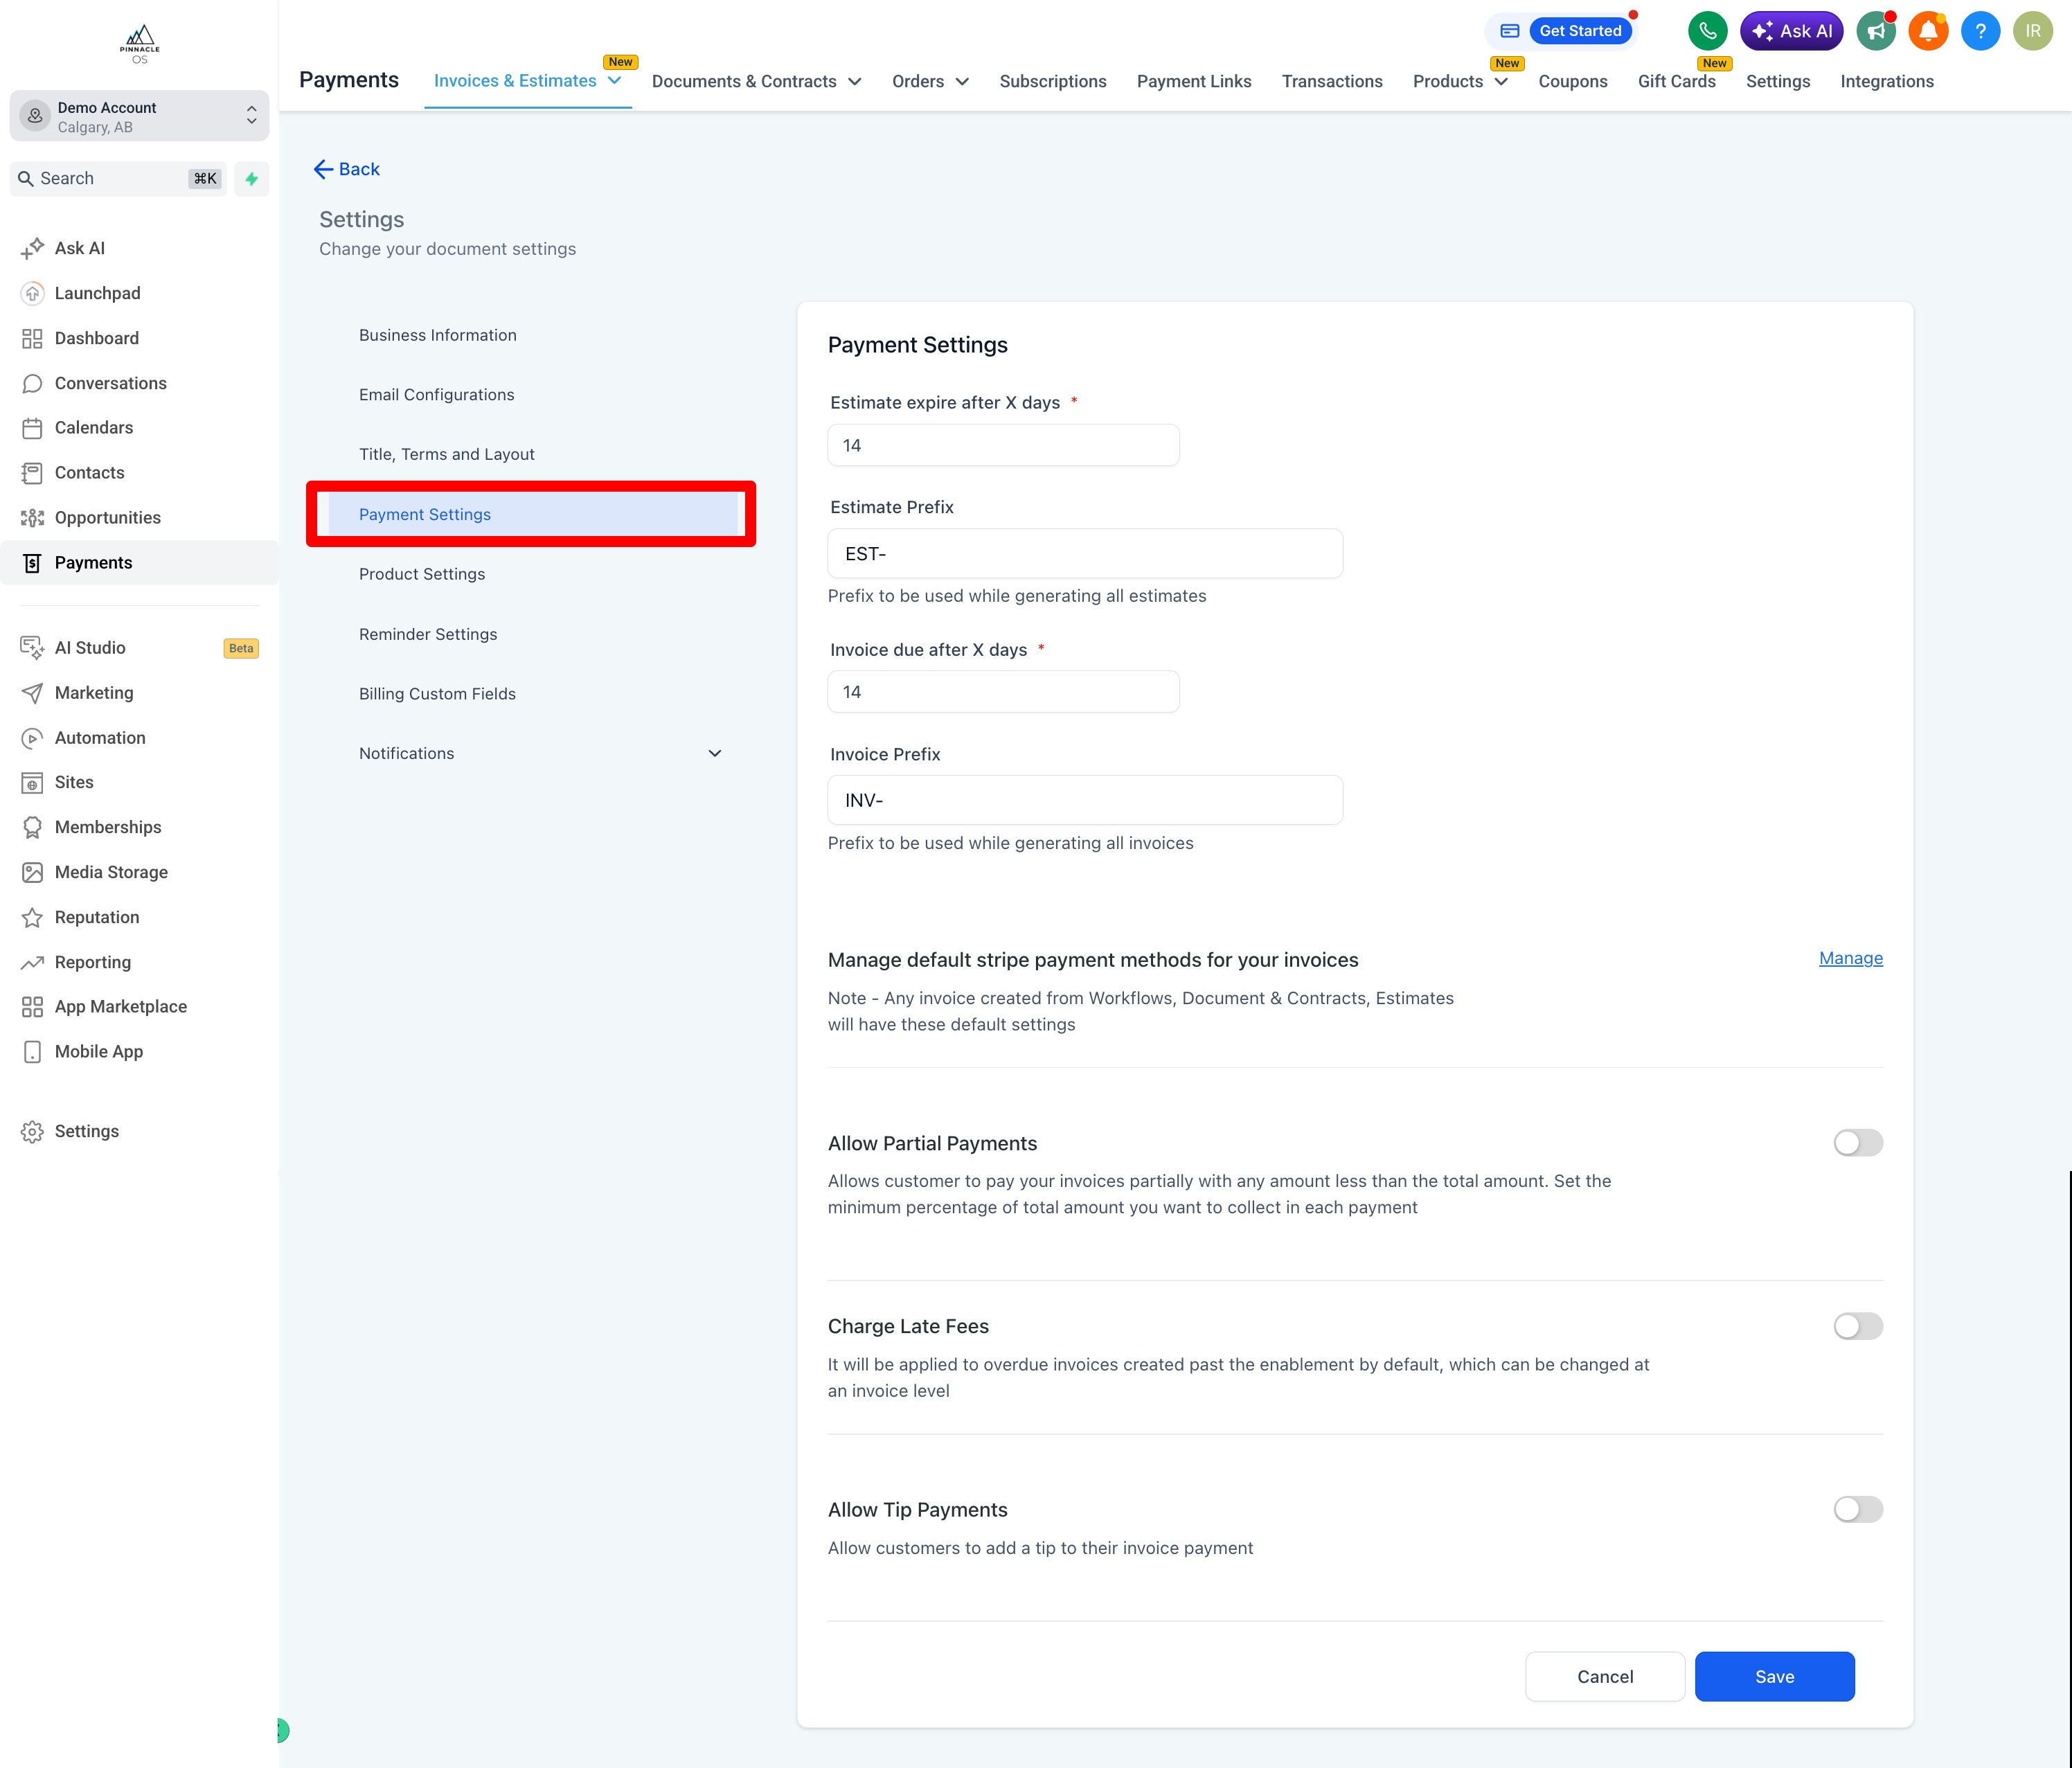
You can edit your invoice Settings to ensure each invoice includes your business information such as Business Address, Business Number, Address, Phone Numbers and Logos in the Settings
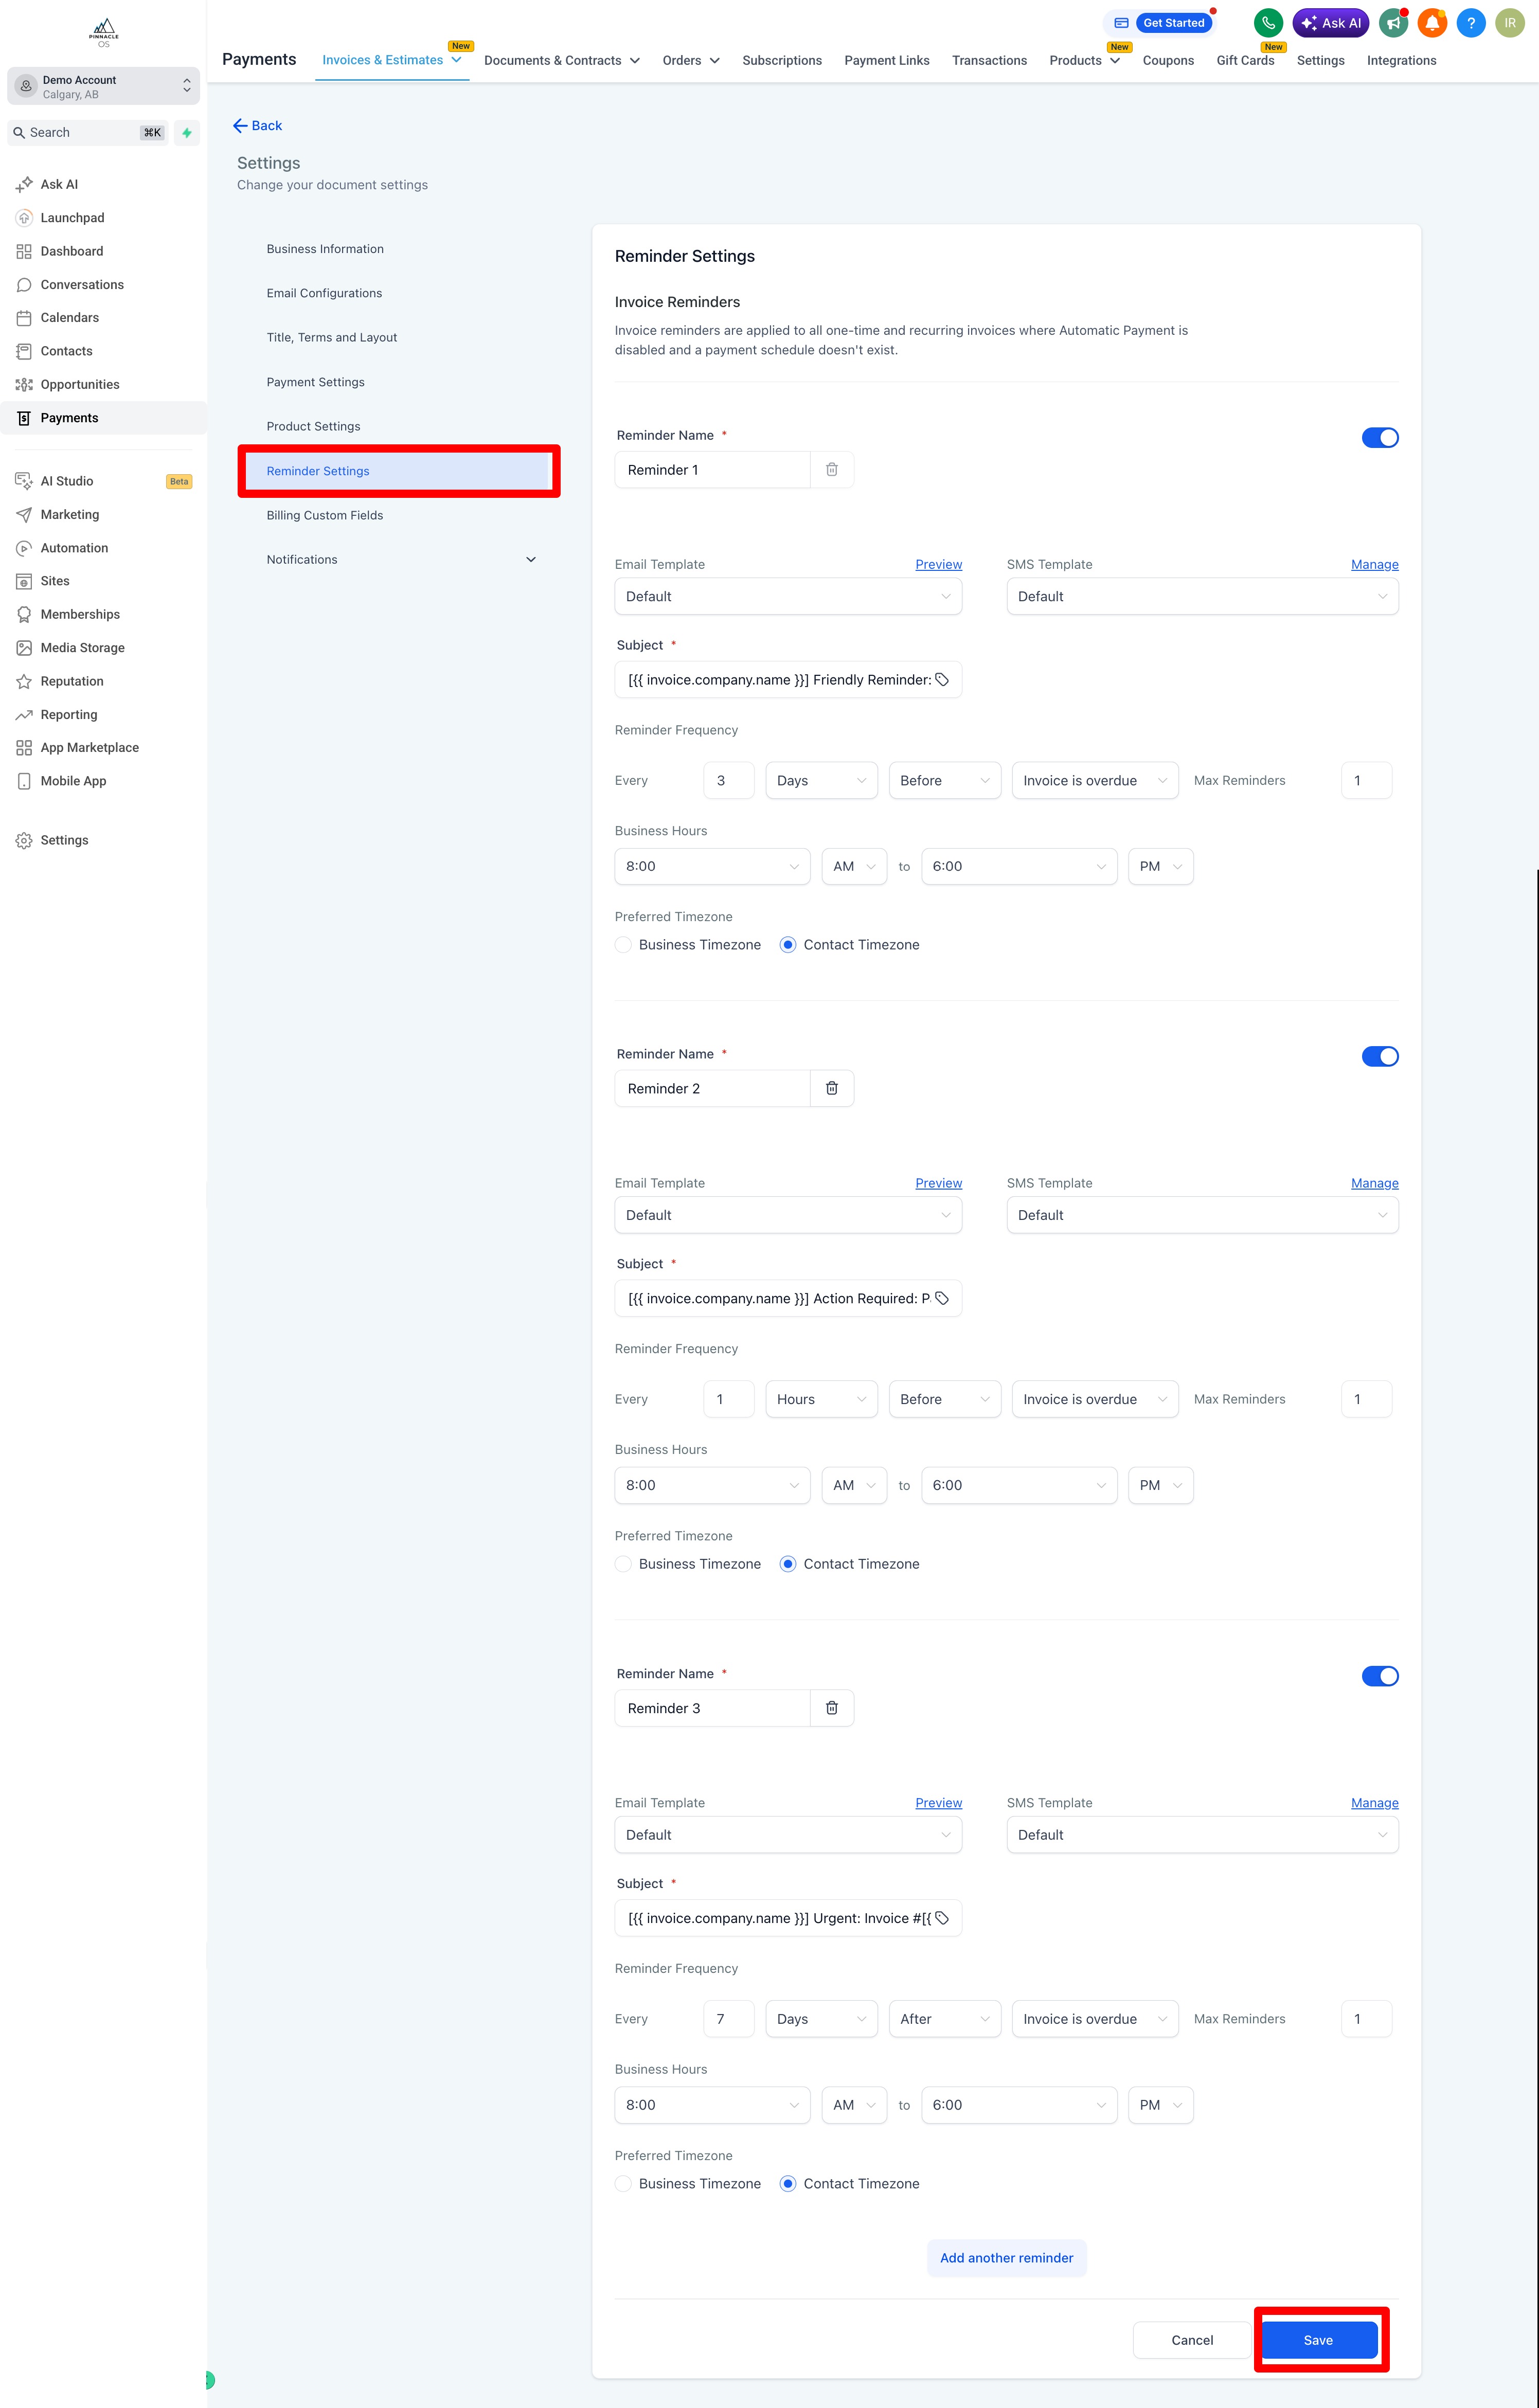
You can set up Payment Notifications and Reminders

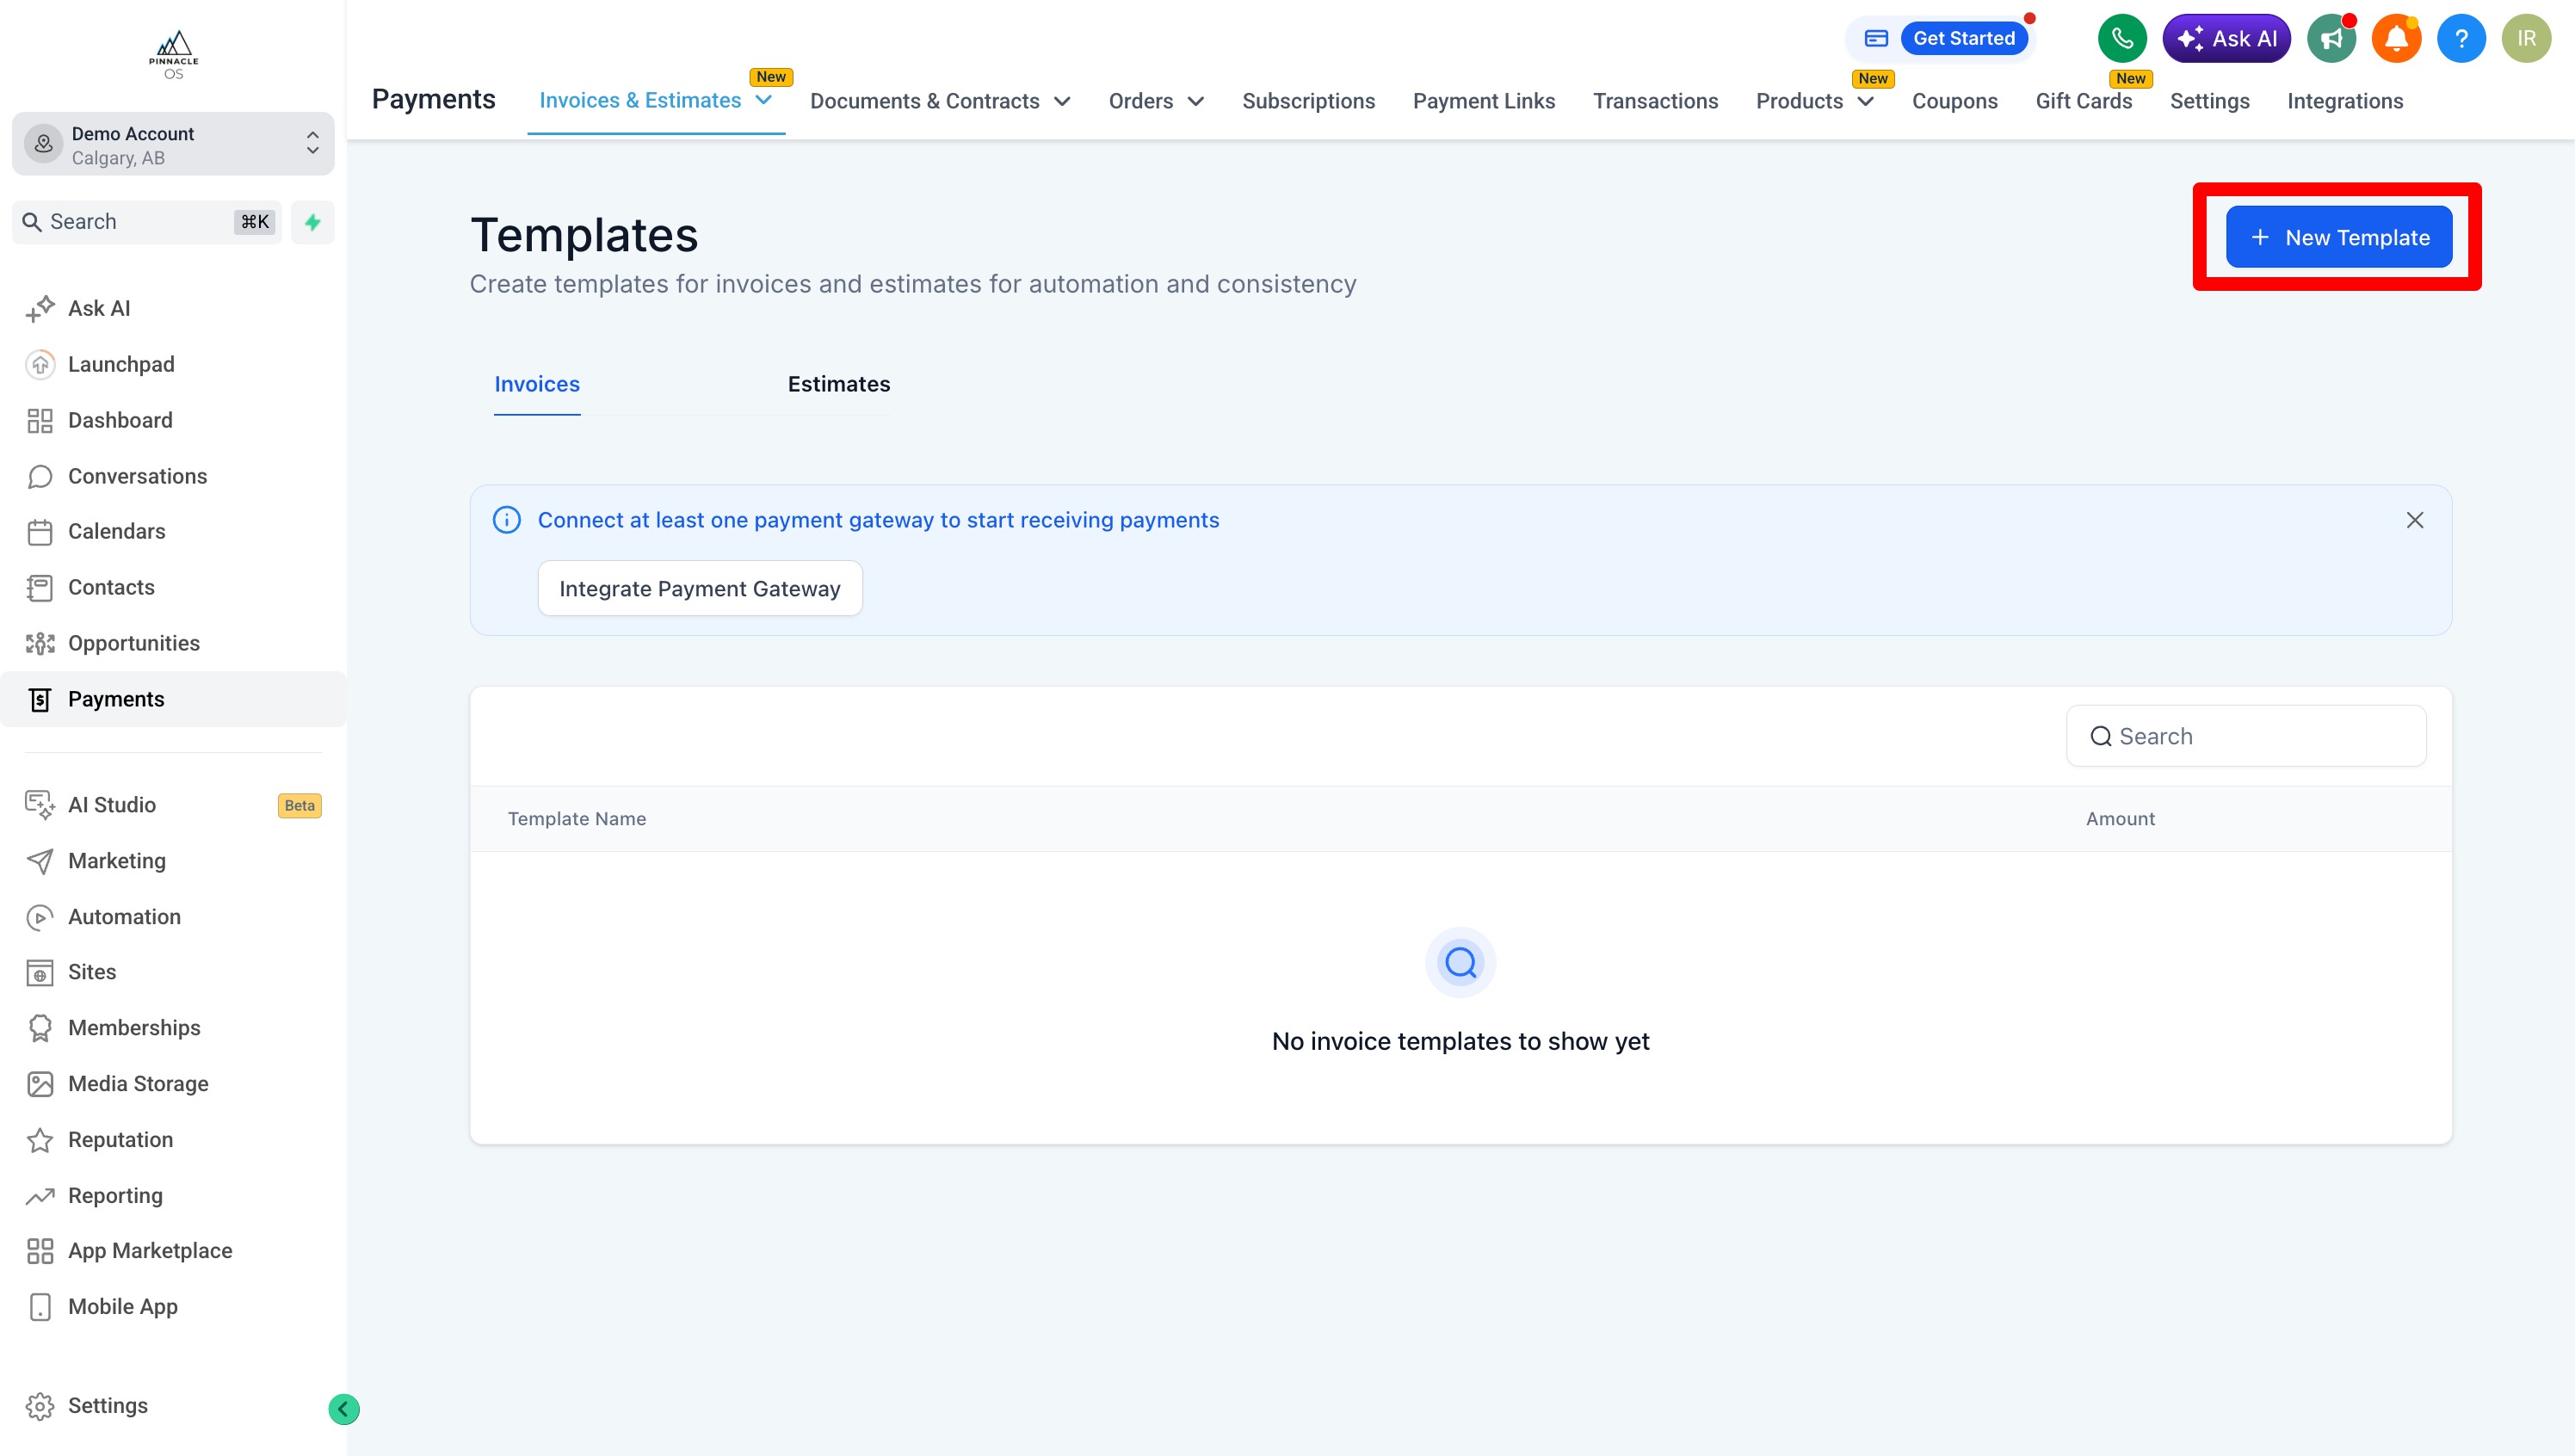
To Create Recurring or Templated Invoices
On the Invoices Tab, select the either and do the same process as creating an invoice